In simple terms, Content Deployment in SharePoint 2010 is used to deploy the content from one site to another site. We can set the content deployment jobs (incoming and outgoing) using SharePoint Central Administration 2010.
The two-farm topology is a standard Internet site topology and is typical of topologies that are used to publish an Internet site. It is usually composed of two server farms: one to host the authoring site collection and the other to host the production site collection.
It is important to be aware that content deployment is a one-way process. The content deployment feature does not support round-trip synchronization from source to destination and vice versa. Creating new content or changing existing content on the destination site collection can cause content deployment jobs to fail. Because of this, it is usually recommended to restrict permissions on the destination site collection so that only specific users can make direct changes to content that is stored within that site collection.
We will now go through a typical process that will copy one site collection to another with content deployment.
PROCESS OVERVIEW
Content Deployment in SharePoint 2010 is composed of the following three processes.
- Create two Web Applications in separate content databases and create site collections in the web applications.
- Configure Content deployment, paths and jobs -> Run jobs.
- Check the deployment status and the destination site collection’s content.
I. CREATING THE WEB APPLICATIONS AND SITE COLLECTIONS
1. First, create two web apps and ensure the two are in separate content databases.
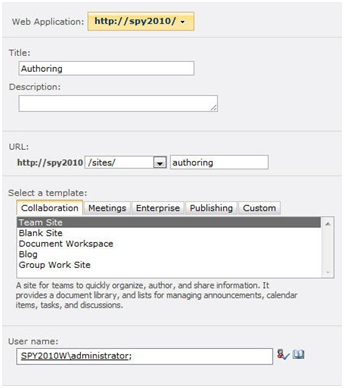
- http://spy2010
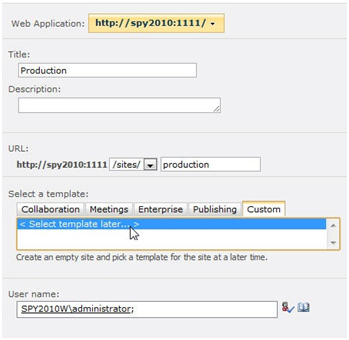
- http://spy2010:1111
2. Second, create site collection http://spy2010/sites/authoring and select the “Team Site” template.
3. The initial content deployment destination must be a blank site collection.
4. Create a site collection and ensure that you select “<Select template later>.”
Note: DO NOT create a site collection using “Blank Site” template, as this does not count as an empty site collection and content deployment will fail.
5. The site collection in port 1111 is just http://spy2010:1111/sites/production.
II. Configure Content deployment, paths and jobs in CA
1. Navigate to Central Administration -> General Application Settings -> Content Deployment -> Configure Content Deployment.
2. Configure new deployment path
Note: A content deployment path is required to define a one-to-one relationship between a source and destination site collection for the purposes of content deployment. Once you have created a path, jobs can be scheduled and run on an ad-hoc basis to deploy additional content as required.
3. Select your “authoring” site collection as the source and “production” site collection as the destination.
4. Enter the current central administration address, including the port number.
Note: We will need to test the connection to make sure the destination site collection list populated correctly.
Create a deployment job and run it
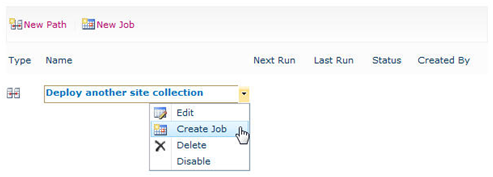
5. We will need to create a deployment job. Jobs and deployment paths have a one-to-one relationship, so we will need to create at least one job for each path that we have specified.
6. Select the “One time only” radio button to kick the job off immediately.
7. Create a schedule or run the job now using the “One time only” option to test your new deployment path.
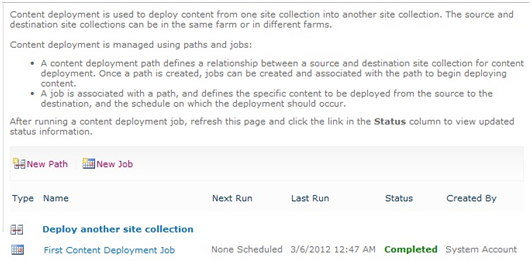
8. You can view current job status on the “Manage Content Deployment Paths and Jobs” page.
9. Once the job status becomes “Completed,” the “Production” site collection’s content has been copied successfully.
III. Check deployment status and destination site collection’s content
1. Navigate to Central Administration -> General Application Settings -> Content Deployment -> Check deployment of specific content.
2. We can check the “production” status on the following page.
3. When we login to “production,” we can see that the content is now same as the content in “authoring.”


