- BoostSolutions
-
Products
-
- Microsoft Teams
- HumanLike Alert Reminder
- View All Apps
- Pricing
- Support
- Company
SharePoint List Sync is a SharePoint add-on that allows users to sync lists in a same or different site.
SharePoint List Sync syncs any item creation, modification, and deletion from source list to the target list and also sync modifications from target list back to the source list.
This tutorial will demonstrate how to use the product to sync data between SharePoint lists.
Please note: With the trial version, it supports up to 20 records/items ONLY.
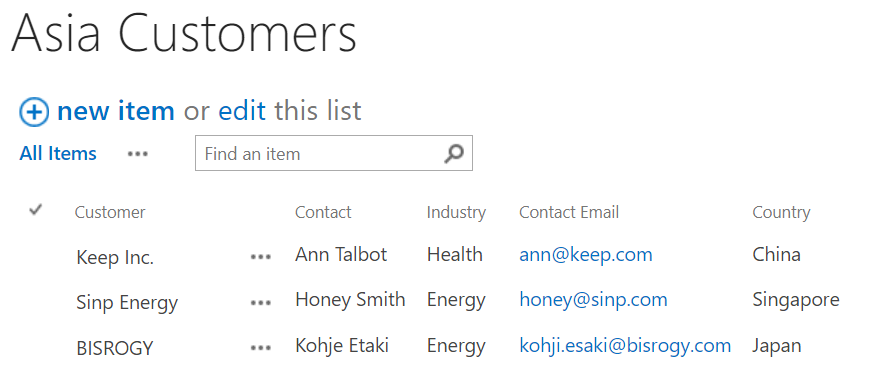
There is a list named as Asia Customers with following columns and items on a SharePoint site.
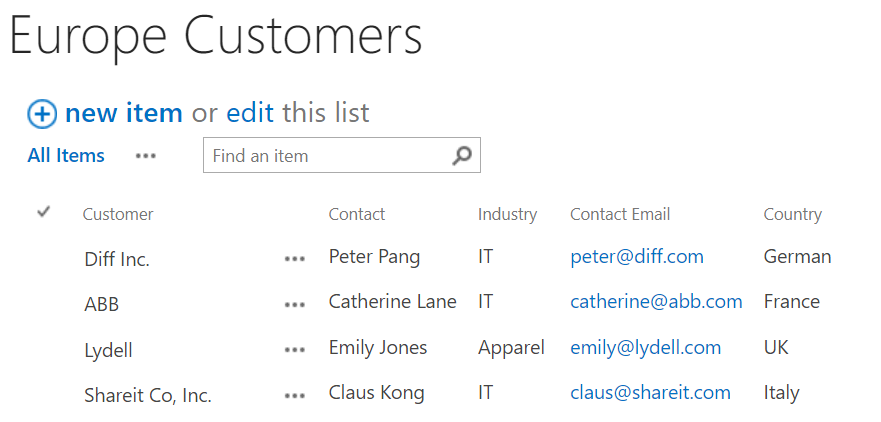
There is a list named as Europe Customers with following columns on a SharePoint site.
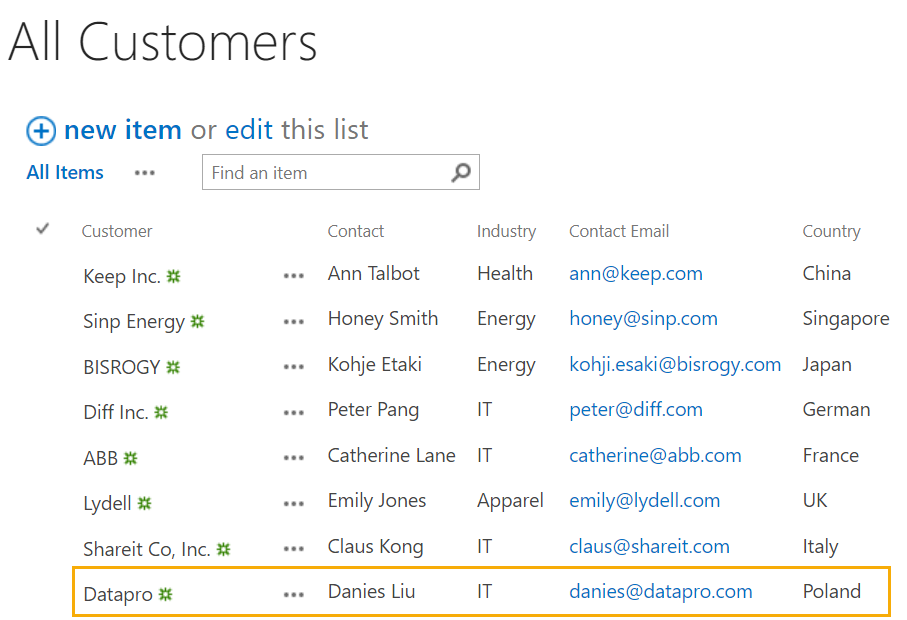
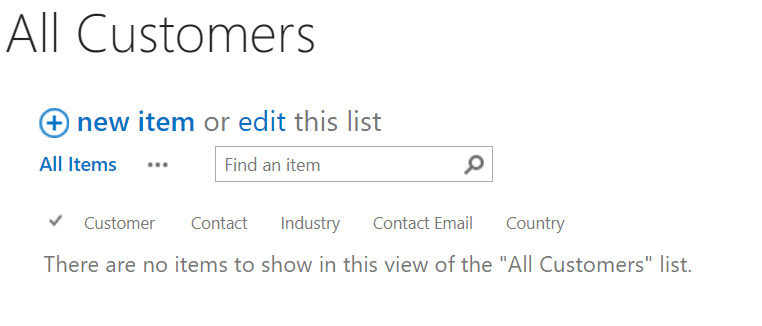
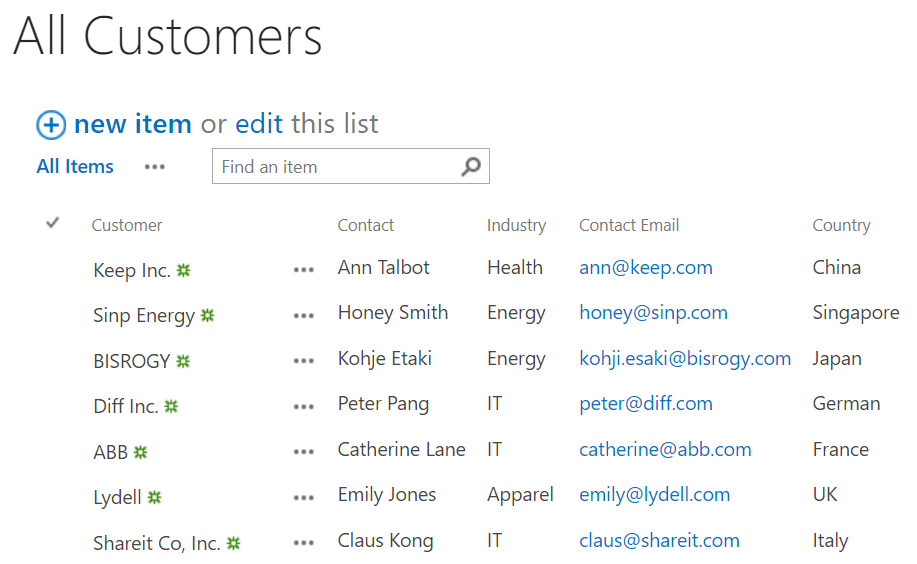
In this tutorial, we will demonstrate how to sync items from these two lists to another list All Customers (with same columns as above two lists).
a. Click Settings and then click Site Settings.
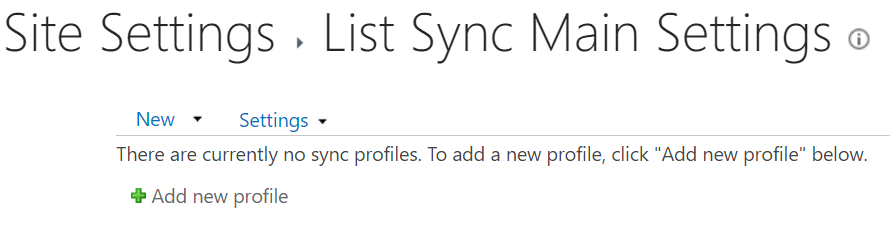
b. Find the List Sync Settings under the BoostSolutions Software group, click on it to enter the List Sync Settings page.
c. Click Add new profile to create a profile. A profile is a set of commands and conditions set by the user for syncing items from a source list to a target list.
d. Give a meaningful name for this profile.
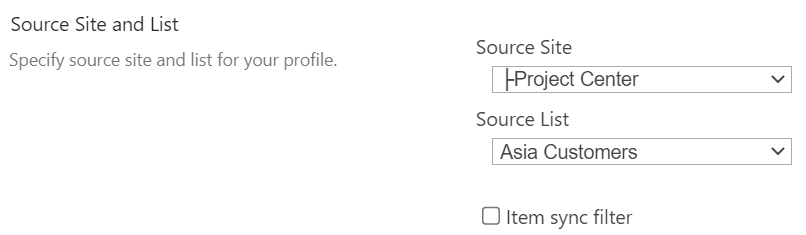
e. In the Source Site and List section, choose Asia Customers list as source list. Information transmitted to the target list is referred from here.
Select Item sync filter option to filter which items will be synced to the target list, in this tutorial, we sync all items, so do not select this option.
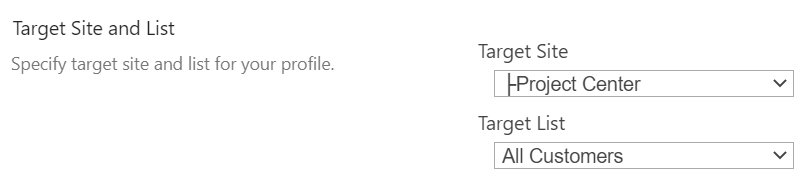
f. In the Target Site and List section, select All Customers list. This is the location where the Source list would sync its items to.
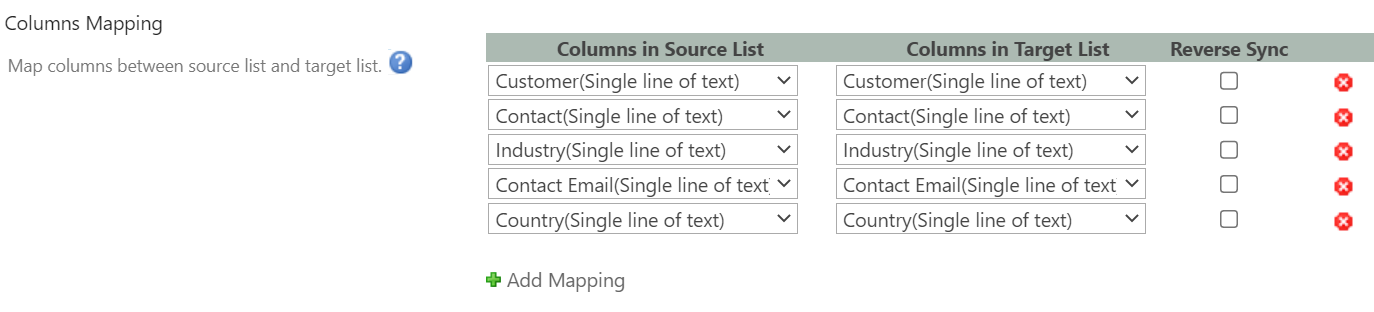
g. In the Columns Mapping section, select the columns you want to sync the target list to and map the appropriate columns. Since we only sync the data from Asia Customers to All Customers, we do not select Reverse Sync option for any columns.
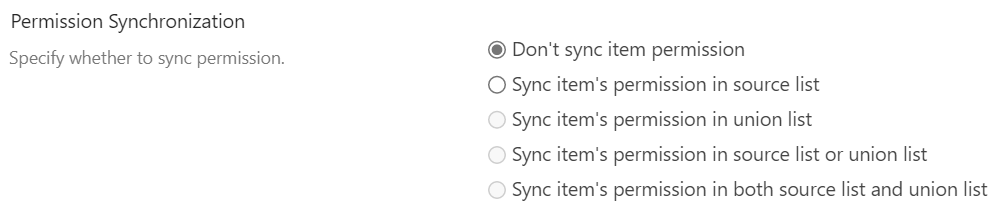
h. In the Permission Synchronization section, specify whether to sync permissions. Here we select 'Don't sync item permission' option.
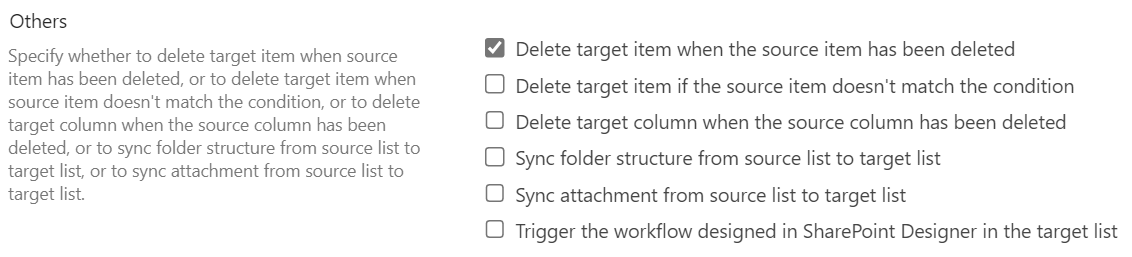
i. In Others section, there are five checkboxes where you can choose conditions when to sync or delete target item, target column, target folder structure and attachment according to Source activity.
j. Keep other settings as default and click OK to save settings.
k. Repeat step a to j, create another profile to sync data from list Europe Customers to All Customers.
After creating another profile, there are two profiles in List Sync Settings page.

SharePoint List Sync automatically updates source and target lists in real-time.
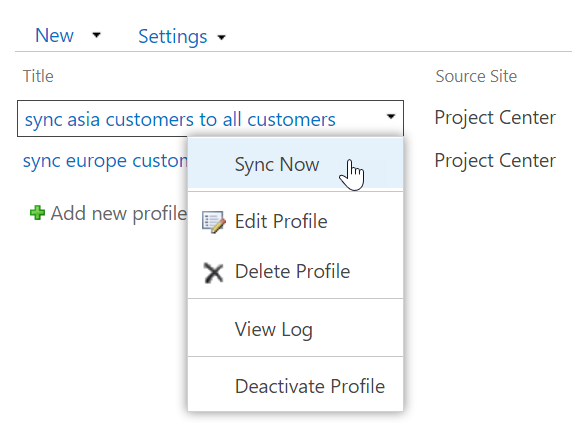
However, you may choose to manually sync your source and target files yourself by viewing the List Sync Main Settings Page (Click Settings > Site Settings > List Sync Settings).
Hover the profile you want to sync and a dropdown menu would appear, click the dropdown menu and select Sync Now. Then the items of Asia Customers and Europe Customers will be synced to the All Customers list.
Once you create a profile to build the relationship between the source and target lists, the changes of source list will be synced to the target list automatically.
For example, we create a new item in the Europe Customers as following.
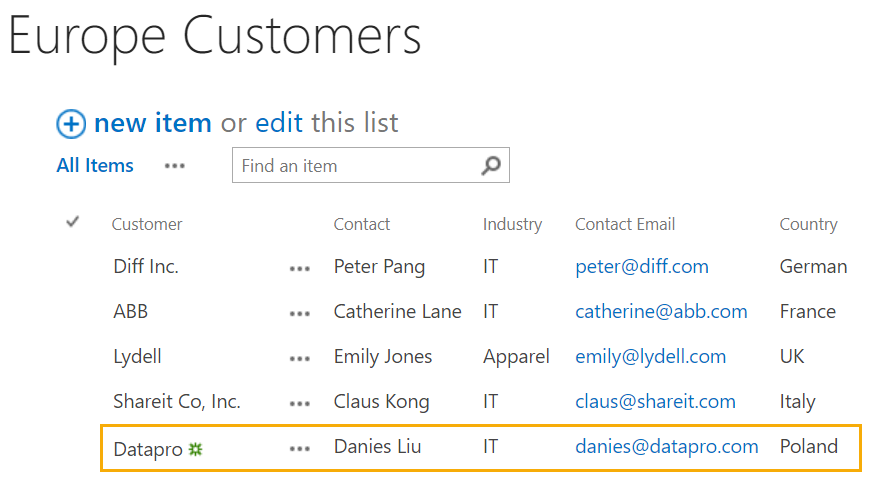
And the new item is synced to All Customers list automatically as following.