- BoostSolutions
-
Products
-
- Microsoft Teams
- HumanLike Alert Reminder
- View All Apps
- Pricing
- Support
- Company
SharePoint Document Maker enables SharePoint users to automatically generate documents from SharePoint list items.
SharePoint Document Maker has to be activated in site collection before it can be used. For more information please see our Product Installation Guide.
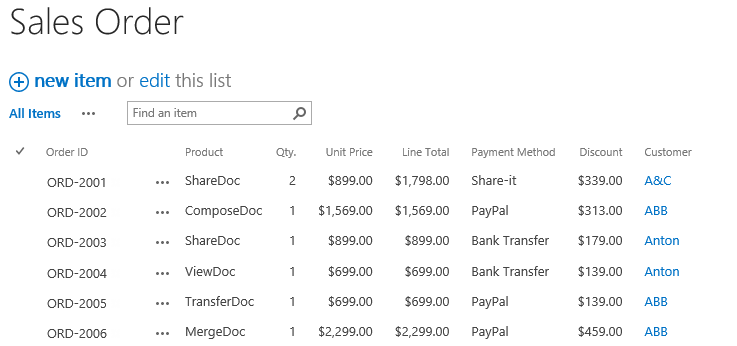
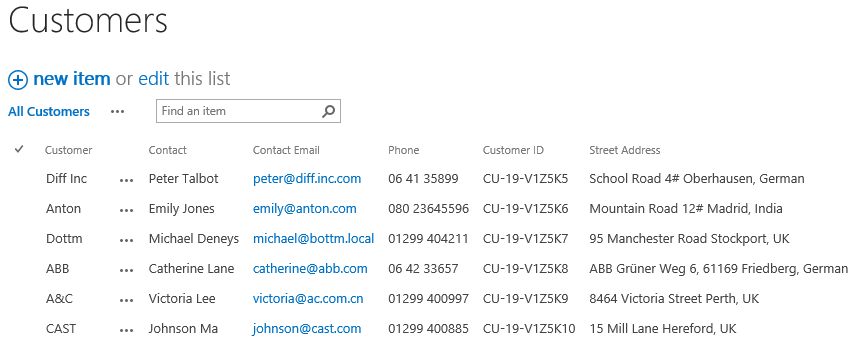
This tutorial will introduce how to configure Document Maker and generate documents based on a list. You will see below that there are two lists: Sales Order and Customers. You should first create a lookup column in the Sales Order list to show customer information from the Customers list.
Before you can create a template, you must first install the Document Maker add-on in Word. With the Document Maker add-on, you can connect to SharePoint list and insert list columns in your template.
Note: To perform this procedure, you must be a local administrator.
a. Download the zip file (*.zip) for Document Maker from the BoostSolutions website and extract the file.
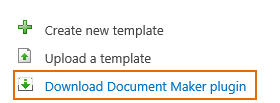
Or download the Document Maker Plugin from the Document Maker Settings page.
b. Run the DocMakerPlugin_x64 or DocMakerPlugin_x86 file.
c. The Document Maker Plugin Setup Wizard will appear; click Next to continue.
d. In the 'Ready to Install' window click Install.
e. Installation details will be displayed in the Installation window while the procedure is running.
f. After the process is completed click Finish to close the setup wizard.
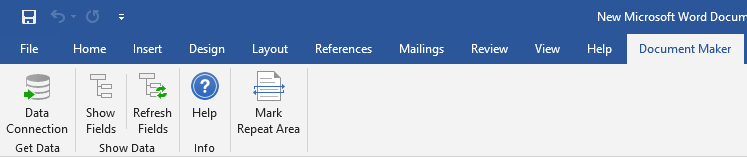
g. Once the add-on is installed, a Document Maker tab will appear on the ribbon in Word.
A template is used to generate a document that is populated with data from SharePoint list.
a. First open a template you want to create in word. For this example we will open a sales receipt template.
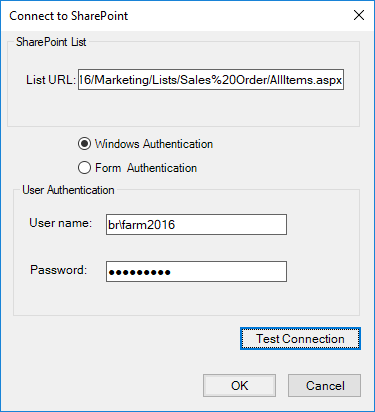
b. On the Document Maker tab, click on Data Connection in the Get Data group. A Connect to SharePoint dialogue will open. In this dialogue, configure the authentication to connect to a SharePoint list. In this example we will connect to Sales Order list.
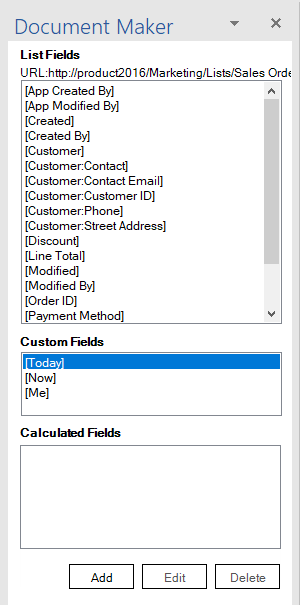
c. After you connect to a SharePoint list, a Document Maker pane will appear in the Word template. Columns in the current list and related lists will be shown in the List Fields box.
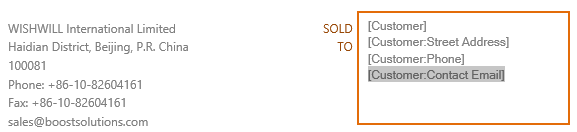
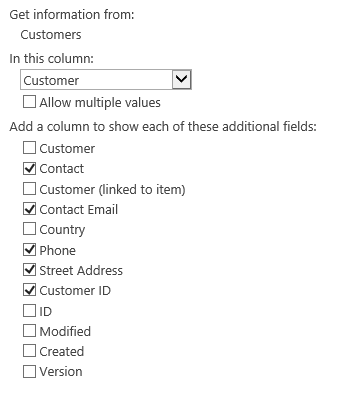
d. In the template, click the customer information area. From the Document Maker pane, select and double click the columns, which are lookup columns in the Sales Order list, to insert them into the template. Columns will be inserted as follows:
If the field does not appear in the List Fields box, you will need to add them as additional columns in the list.
e. Click in the order information area, select the columns you will use and insert them into the template.
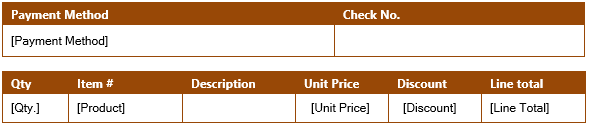
f. To generate a merged document with multiple items you will need to mark a table or area as repeat.
In this example, we will insert multiple orders in the table, so you only need to select the first order row as a repeat area.

g. In the Document Maker tab click Make Repeat Area.
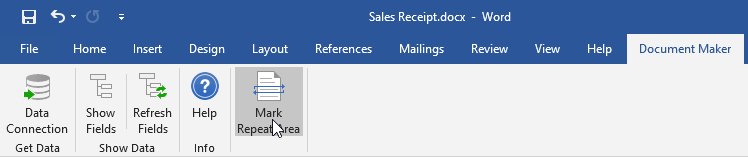
h. The repeat area will be marked with a Boost_Repeat tag as follows.

i. Save the template.
For more information, please refer to Compose Template Using Document Maker Add-on.
Once you have created a template, you can upload it to SharePoint and use it to generate documents. Besides uploading a template to SharePoint, you can also create a new template on SharePoint.
a. First navigate to the Sales Order list.
b. On the Ribbon, click the List or Library tab and then click Manage Templates in the Settings group.
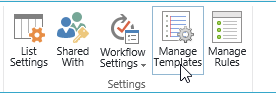
Or, enter the List or Library Settings page, in the General Settings section and click Document Maker Settings (Powered by BoostSolutions) .
c. In the Document Maker Settings page, click Upload a template.
d. A dialog box will appear. In the dialog box click Browse' to select your document template.
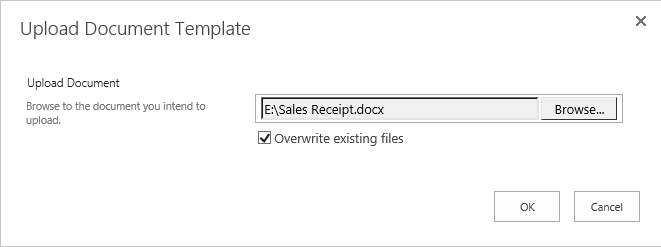
e. Click OK to upload the selected template. Then you will find a template is as followings.

A rule is used to auto name and store generated document.
a. Navigate to the Sales Order list.
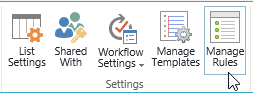
b. On the Ribbon, click the List or Library tab and then click Manage Rules in the Settings group.
c. In the Document Maker Settings -> Rules page click Add Rule.
d. Enter a name for the rule.
e. Specify which templates should use this rule. You can select multiple templates for one rule.

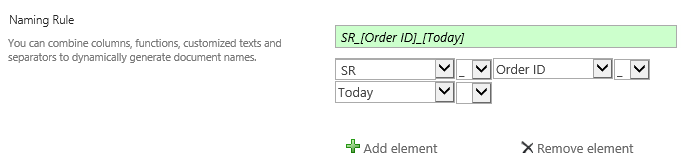
f. In the Naming Rule section, you can use Add element to add a combination of variables and separators and use Remove element to remove them.
g. In the Data Format section, you can specify which date format you want to use.

h. In the Output Types section, specify the document format after generation. Here we select PDF.

Four file formats are supported: DOCX, DOC, PDF and XPS.
i. In the Distribute Document section, specify a location where generated documents are stored.

There are two options to store the generated documents:
Select the Create a folder to save documents option to save the documents into an automatically created folder and specify a column name as the folder name, such as Product Name.
j. Click OK to save the settings.
This function enables you to generate individual document(s) for each item(s).
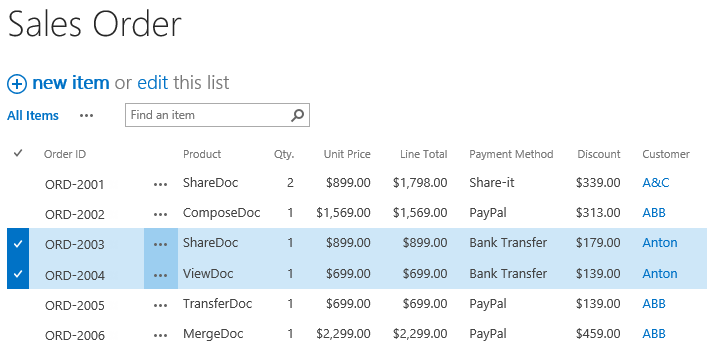
a. Navigate to the Sales Order list and select multiple orders.
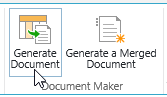
b. On the Ribbon click Generate Document.
c. A Generate Document dialog box will appear. Select the Sales Receipt template.
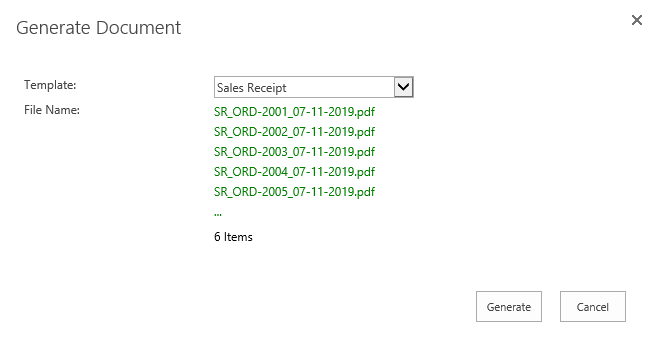
d. Click Generate to generate documents.
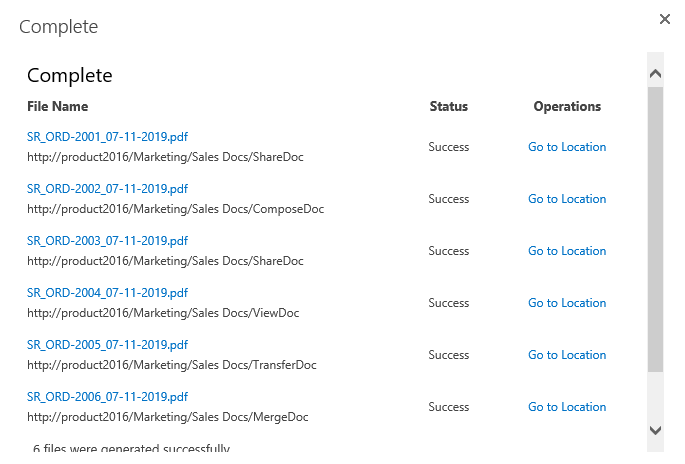
e. Once the document has been created you will see the results.
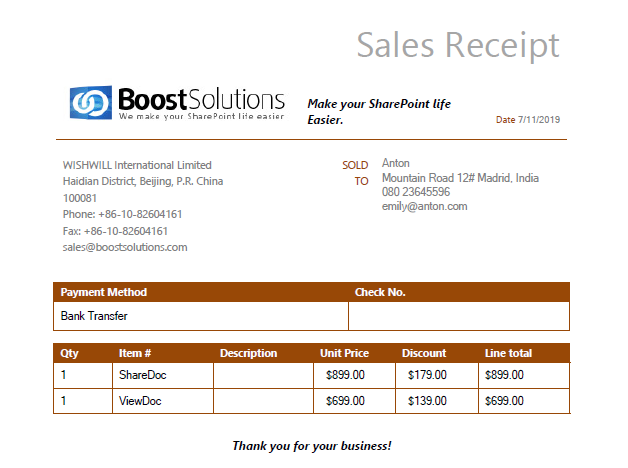
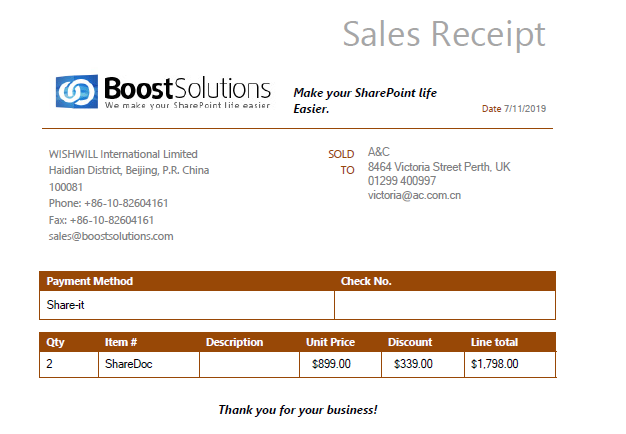
f. Click on a file name to open it. The document we generated looks like this:
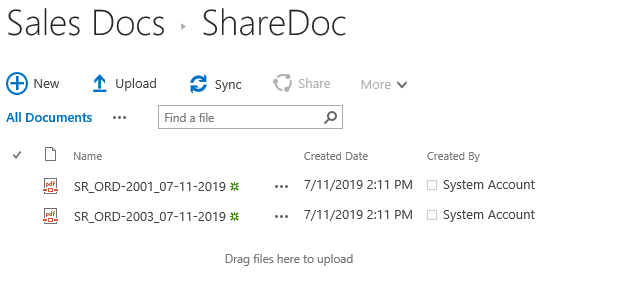
g. If you click Go to Location , you will go to enter the folder where the documents are stored.
This function allows you to merge multiple items into one document.
To generate a merged document, you need to enable the Merged Document Generation option in rule.
a. Open a rule, and in the Merged Document Generation section, select the Enable option to enable the generation of a merged document using multiple items.

b. In the Merged Documents Naming Rule section, specify the naming rule.
You can insert [Today], [Now] and [Me] in the rule to dynamically generate names.

c. In the Target Location section, select a document library to save merged documents.

d. Click OK to save the settings.
e. Navigate to the Sales Order list and select two orders.
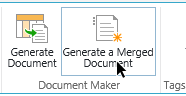
f. Click Generate a Merged Document on the Ribbon.
g. A Generate a Merged Document dialog box will appear. From this dialog box select the Sales Receipt template.
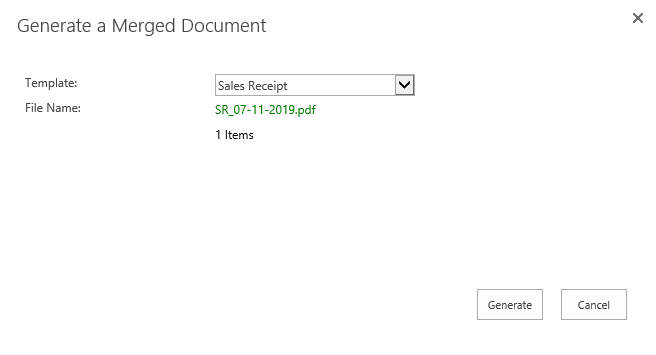
h. Click Generate to generate a document.
i. Once the document has been created you will see the results.
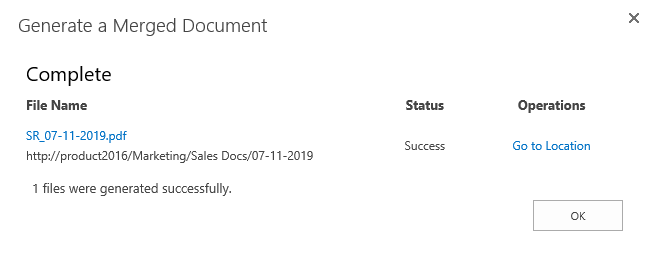
j. Once the document has been created you will see the results.