- BoostSolutions
-
Products
-
- Microsoft Teams
- HumanLike Alert Reminder
- View All Apps
- Pricing
- Support
- Company
Cross-Site Lookup creates relationships among lists between different sites, looking up information from SharePoint lists in other sites.
This tutorial will demonstrate how does Cross-Site Lookup work and how to create it in a SharePoint list.
Supposed there are two SharePoint lists, Product and Purchase Orders.
Product - List of all products names and their relevant information. This list locates in site Marketing Center.
Purchase Orders - List of all purchase orders from these products. And this list locates in another site Sales Center.
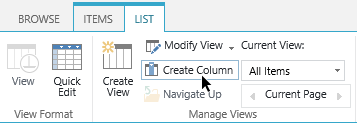
a. Go to the List you want to create a lookup for, here we go to Purchase Orders list.
b. Click the Create Column button under List tab.
c. In the Name and Type section, specify a name for the column and choose Cross-Site Lookup.

d. In the General Settings section, select a site and source lookup list.
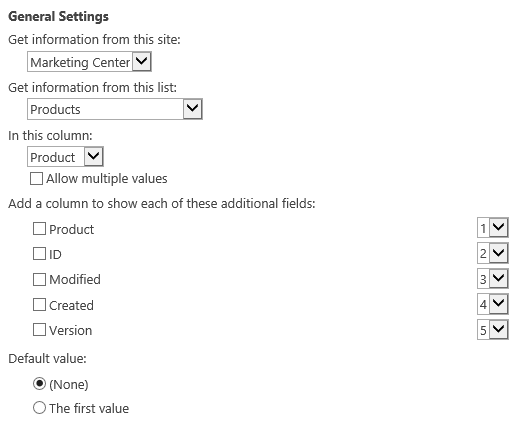
Supported Source Column types:
Single Line Text, Number, Date and Time, Calculated (single line output text), ID, Modified, Created, Version
e. In Advanced Settings section, select the checkbox of Enable creating new item in the source lookup list option.
This option will enable users to add new item in the source lookup list with the 'Create new item' link.
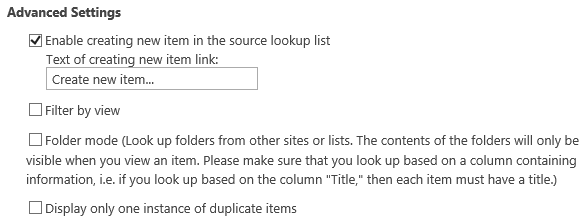
There are other options in the Advanced Settings:
Filter by view - checking the box creates a filter for the Cross-site column. This means if a data is selected, the column will only display items that are related to the selected data.
Folder mode - activating this feature means only lists with folders will be visible
Display only one instance of duplicate items - items with same name will not be duplicated
f. Click OK button to save the settings, and then there is a column named Product in the Purchase Orders list.
After creating a Cross-Site Lookup in the list, we can now create an item and get information from a list in a different site.
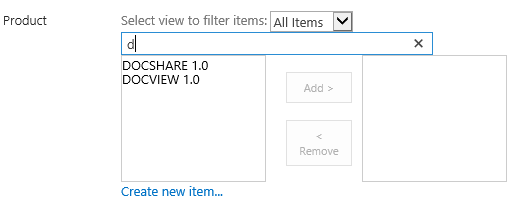
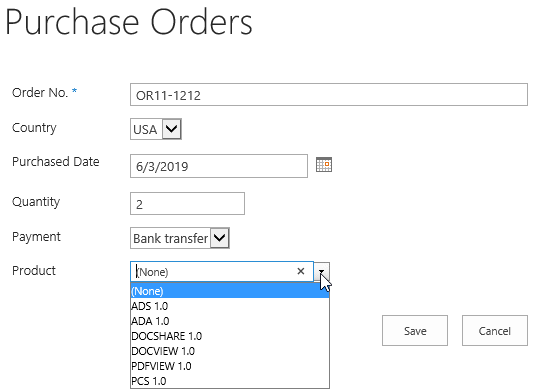
a. In the Purchase Orders list, click new item to create a new item.
b. In Product column (which lookups from Product list), we can select a product name from the drop-down list as following.
By default, SharePoint only can manage out of the box column data in Microsoft Office applications. Cascaded Lookup 4.0 provides a new Data Adapter Web Application feature that enhances the functionality of SharePoint with the ability to manage Cross-Site Lookup columns in Microsoft Excel, Microsoft Access, Microsoft Word and SharePoint Workspace.
a. To activate the Cascaded Lookup Data Adapter feature, go to the Web Application Management module of SharePoint Central Administration.

b. Click the Activate button on the Cross Site Lookup Data Adapter feature in the feature list.

