- BoostSolutions
-
Products
-
- Microsoft Teams
- HumanLike Alert Reminder
- View All Apps
- Pricing
- Support
- Company
When you import data from an Excel spreadsheet into a SharePoint list, an automatic import function will be helpful to keep the data up-to-date and consistent on both sides. BoostSolutions’ Excel Import enables you to create a job to import any Excel spreadsheet to SharePoint list automatically based on schedule.
This step-by-step article demonstrate how to create a job to automatically import data from an Excel spreadsheet to a SharePoint list.
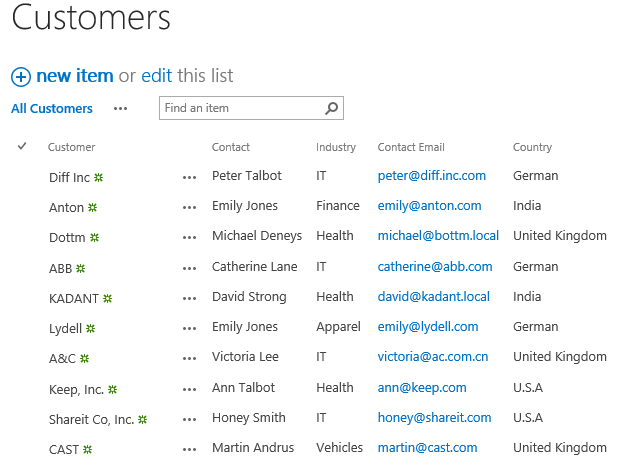
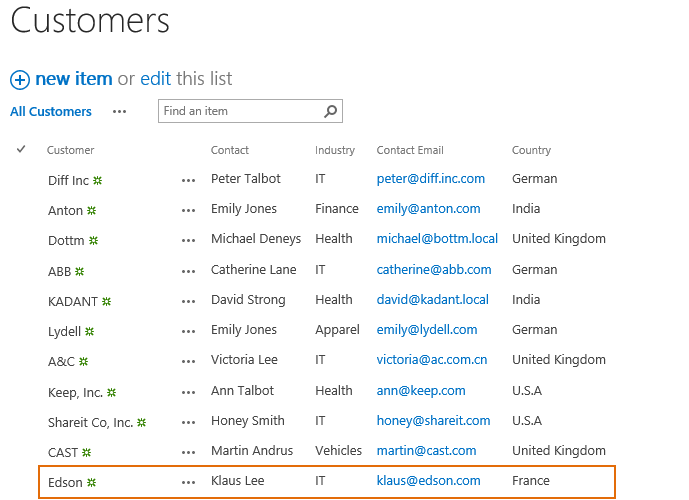
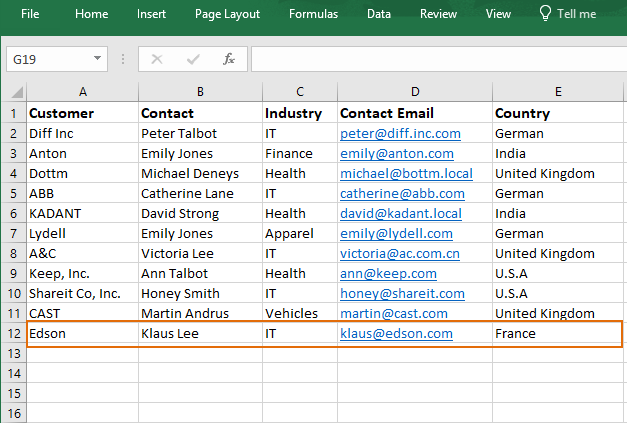
The rows of "Customer" Excel spreadsheet are imported into the "Customers" list
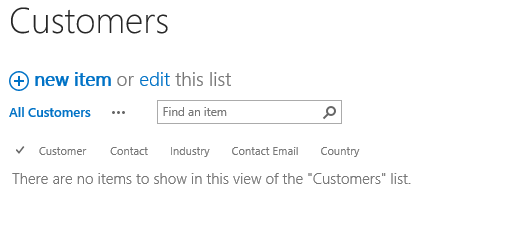
And there is a custom list named as Customers which contain these columns.
Firstly, download the trial version of Excel Import and install it to your SharePoint server.
In the Central Administration, click the WEB APPLICATIONS, then click Manage Features.

When Manage Web Application Features dialog appears, set Status of Excel Import Timer Job as Active as following.

This feature will enable a timer job runs in the background to check job and import data from Excel spreadsheet into the SharePoint list.
Click OK to save the settings.
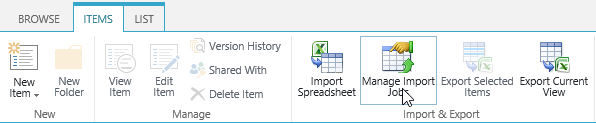
Navigate to the Customers list.
Under ITEMS tab, click Manage Import Job command in Import & Export group.
When Manage Import Job dialog appears, click Create New Import Job.

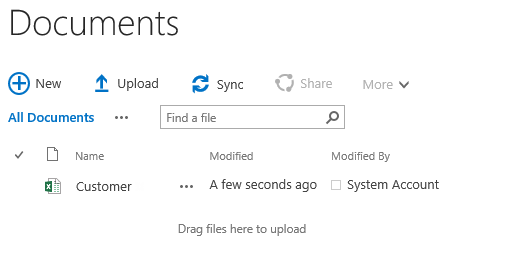
Then in the Import Excel Spreadsheet from Remote Server dialog, enter the URL of Excel spreadsheet Customer.
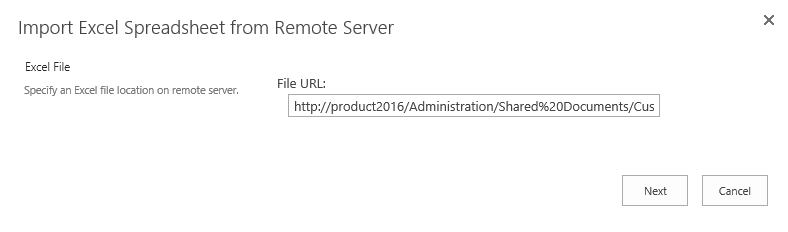
Click Next button for the next steps.
Then you will be navigated to the Import Excel Spreadsheet from Remote Server dialog. In this dialog, configure the following options.
In the Import Job Name section, specify a name for this job such as Job-1.

In the Sheet section, select Customers to import. And select Skip header row in Excel option.

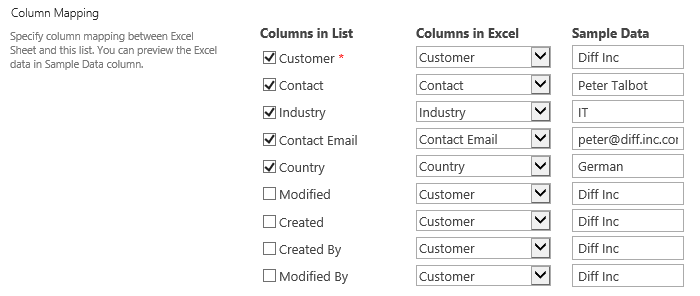
In the Column Mapping section, select these list columns and map with the columns in Excel.
In the Filter section, because we want to import all rows of Excel spreadsheet, unselect Import from row [] to [] option.

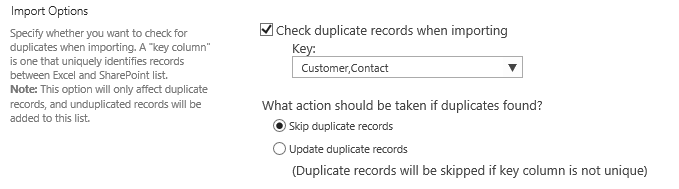
In the Import Options section, select Check duplicate records when importing option, and specify Customer and Contact as key as following.
In the Recurring Schedule section, select Hourly option and specify running every 1 hour. Also, you can specify the schedule as minutely, daily or manually according to your needs.

And click Save button to save the settings.
And then, you will find that Job-1 is created in the Manage Import Jobs dialog as following.
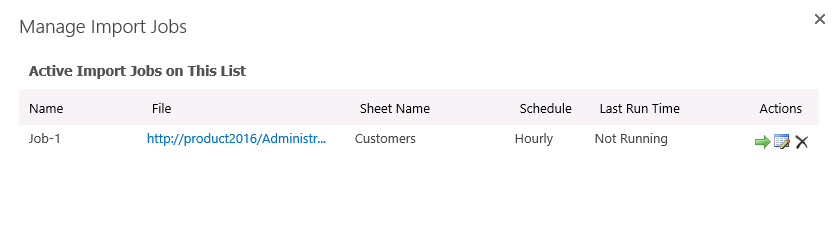
Click Close button to exit the dialog.
Wait for the job run complete, you will find that the rows of Excel file Customers have been imported into the Customers list as following.
In the Documents library, select Excel spreadsheet Customers and add a new row in the Excel.
In the Customers list, wait for the Job-1 run complete again. And you will find that the new row is added in the Customers list as following.