- BoostSolutions
-
Products
-
- Microsoft Teams
- HumanLike Alert Reminder
- View All Apps
- Pricing
- Support
- Company
In a standard SharePoint environment, users typically have to upload, check out, edit properties, and check in documents individually - a time-consuming and repetitive process.
BoostSolutions' Batch Check In offers a solution, allowing users to bulk edit document properties and perform a check-in in one go.
This tutorial will guide you on how to use Batch Check In to manage documents and metadata in a SharePoint library.
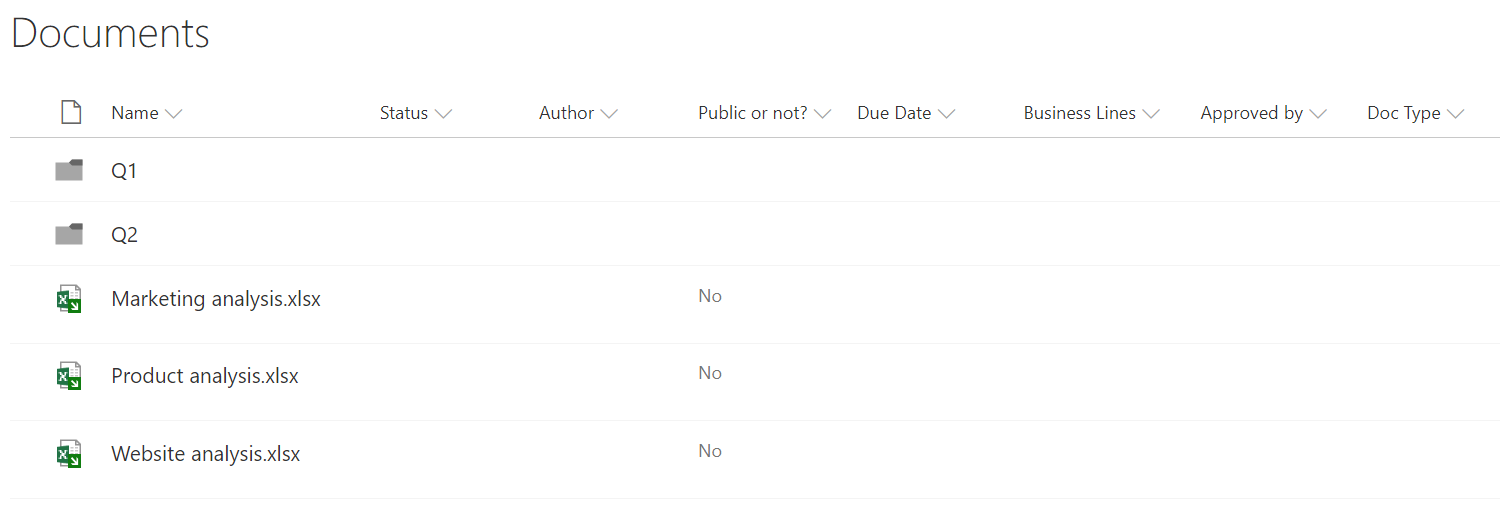
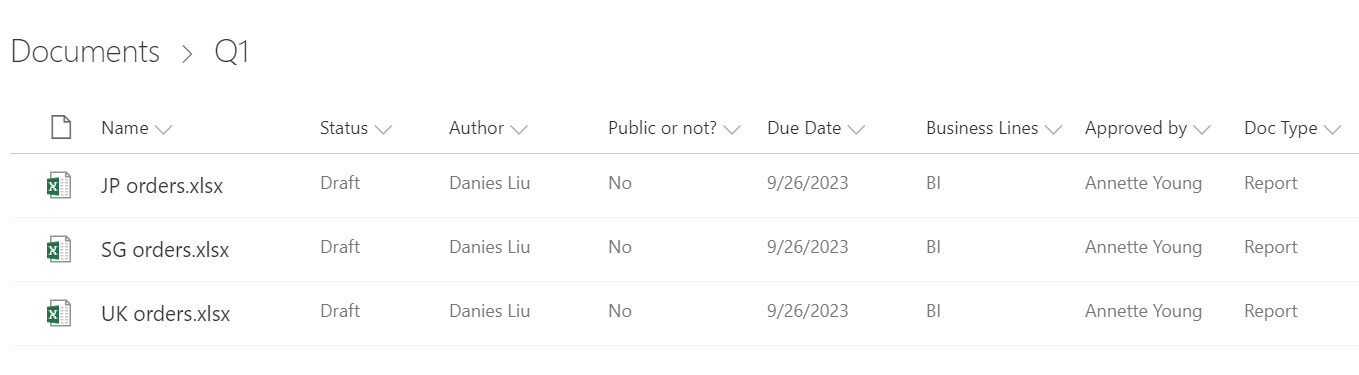
Suppose there is a document library with versioning enabled and several properties.
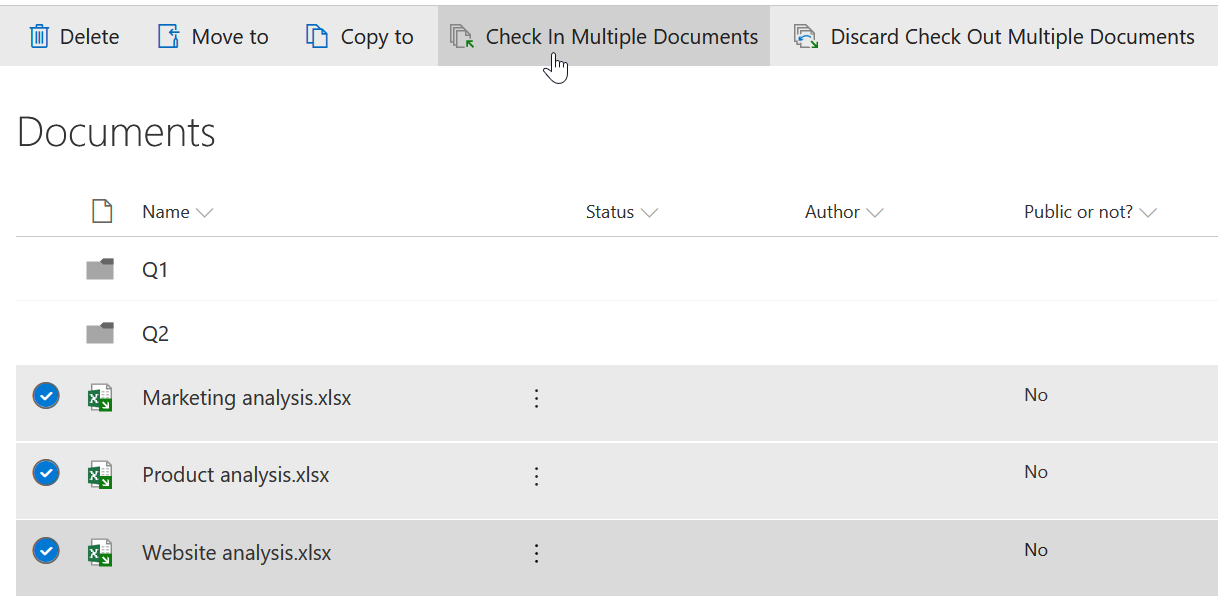
a. Select the checked-out documents and click Check In Multiple Documents. You'll be directed to the corresponding page.
b. The Check In Multiple Documents page comprises five sections: Version Settings, Retain Check Out, Documents, Comments and Edit Properties.
In the Version Settings section, select the document version post check-in.

c. In the Retain Check Out section, decide if the documents will remain in the checked-out status after the check-in.

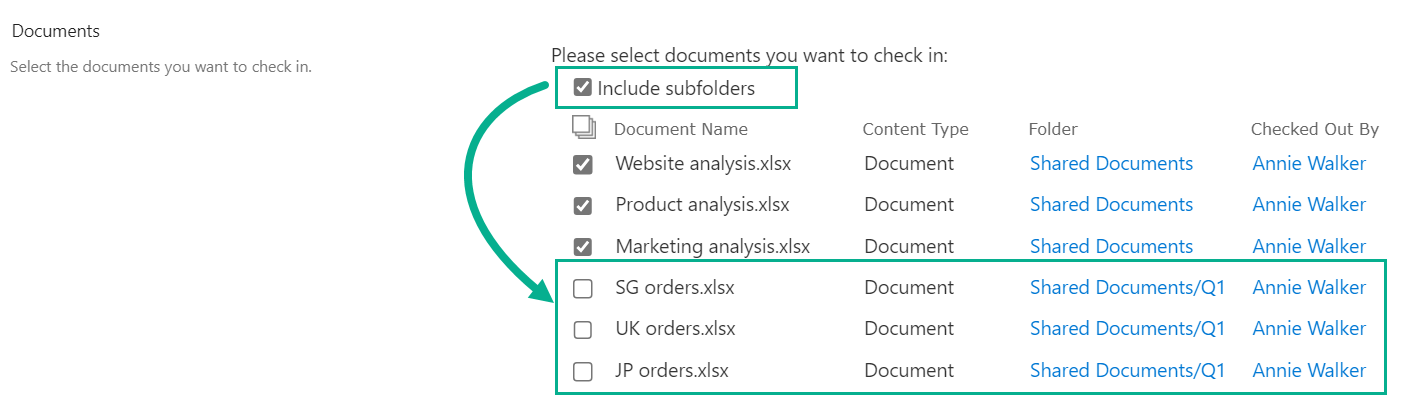
d. In the Documents section, click the checkbox to the left of the document to select the documents you wish to check in. Or use the Select All button at the top of the selection checkboxes to choose all documents.
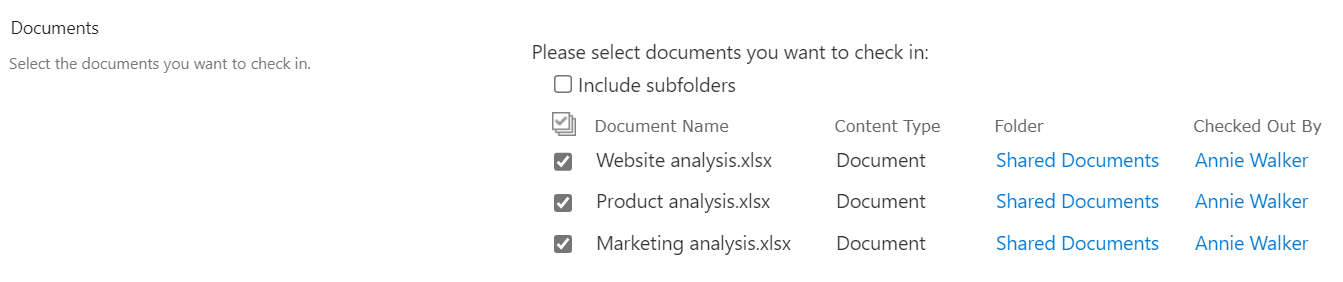
If you wish to check in documents in a subfolder of the current folder, select the Include Subfolders checkbox. This action will list all documents checked out by you in the current folder and subfolders.
e. In the Comments section, add your comments. These will appear in the Comments column for the checked-in documents.

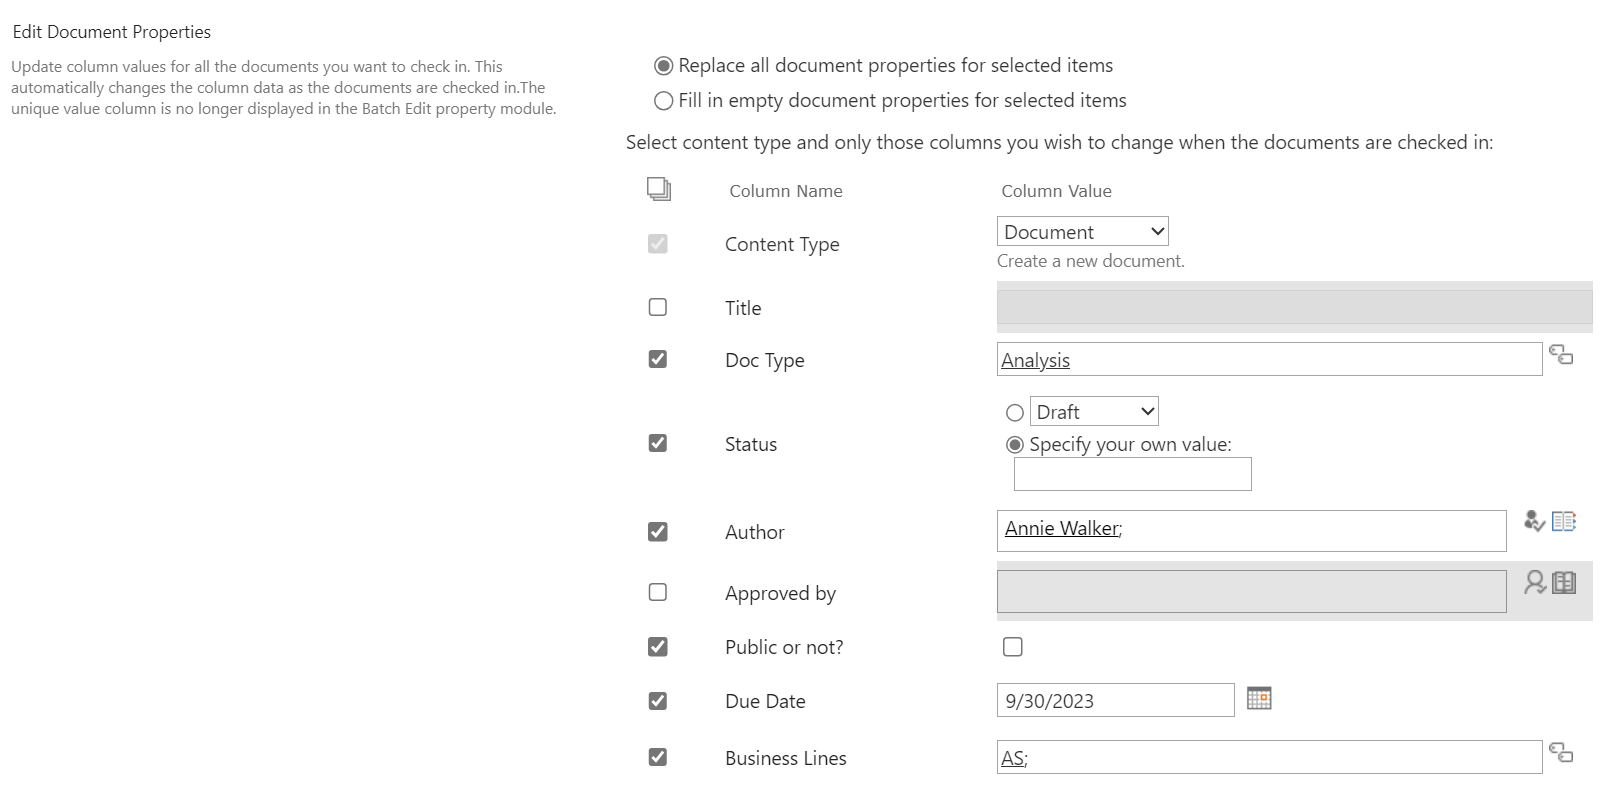
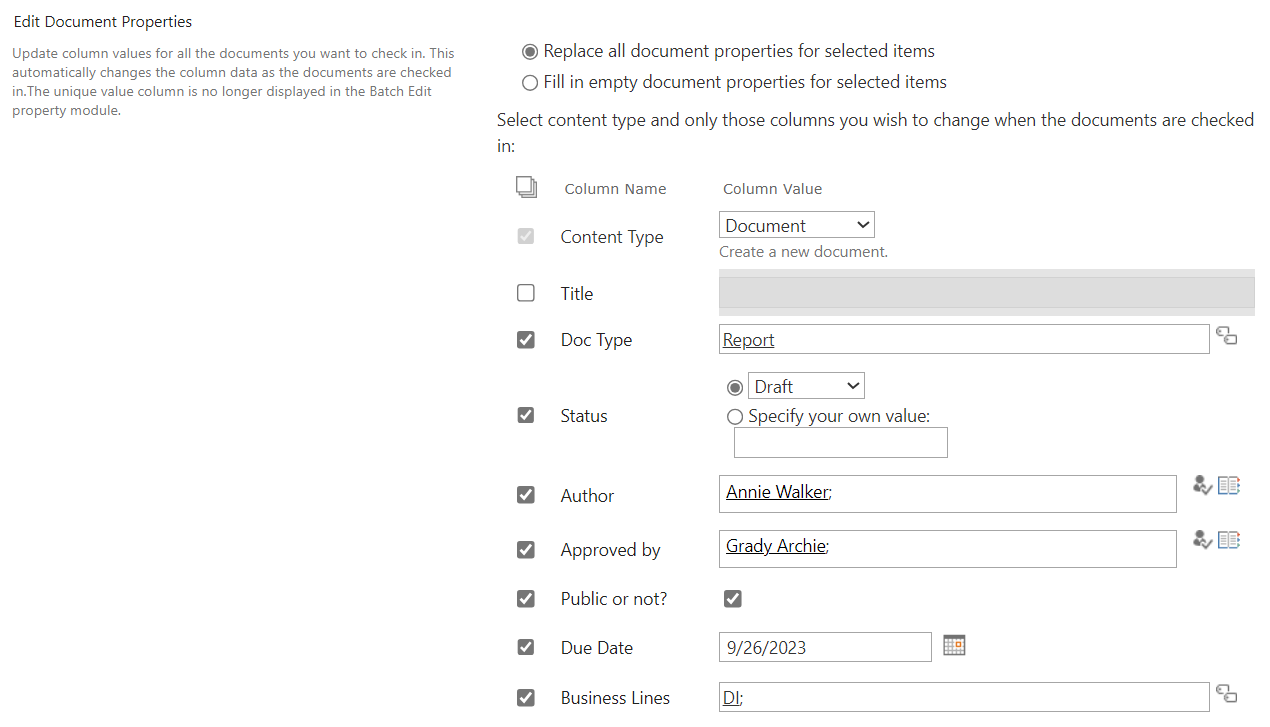
f. In the Edit Document Properties section, you have the capability to adjust the properties or metadata for the documents. Start by selecting the checkbox adjacent to the column name, then input the desired value within the column. If there's no need to update a particular property, simply deselect the column's checkbox.
Specific property adjustments are as follows (for demonstration):
g. Once settings are complete, click OK.
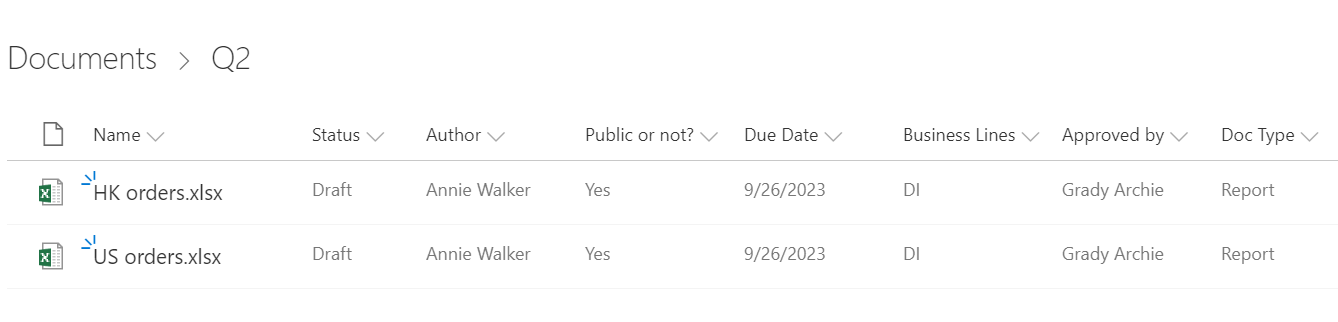
h. You'll find the checked-out documents now checked in, with the selected properties updated.

a. In the SharePoint document library, choose multiple checked out documents and click Discard Check Out Multiple Documents. You'll be directed to the corresponding page.
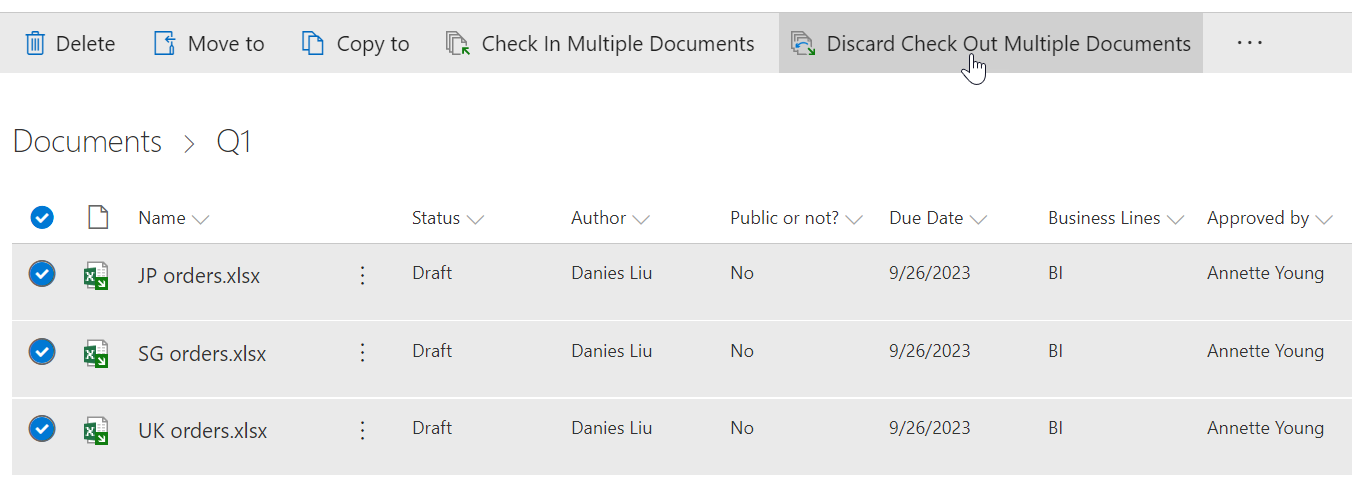
b. On the Check Out Multiple Documents page, select multiple documents for a discarded check out and click OK.
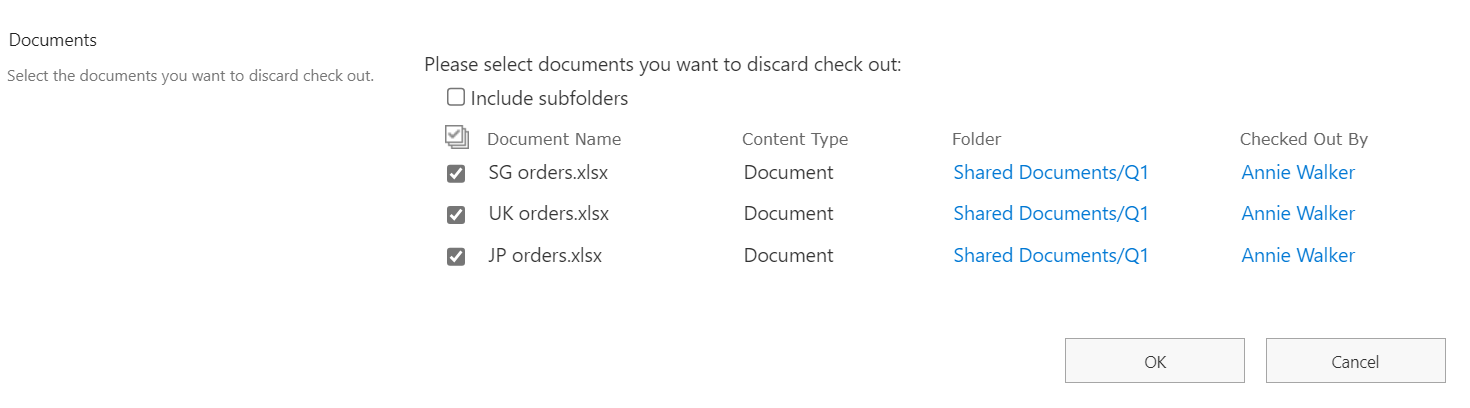
c. The documents will be checked in as follows.
This feature allows users to upload a batch of documents. If these documents are checked out, you'll be redirected to the Check In Multiple Documents page after the upload. All the documents uploaded at that time will be selected by default.
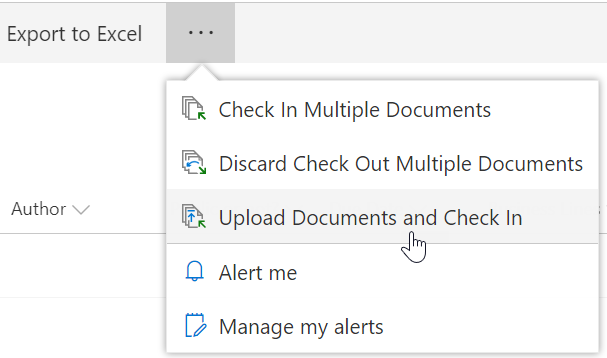
a. In the document library, click Upload Documents and Check In.
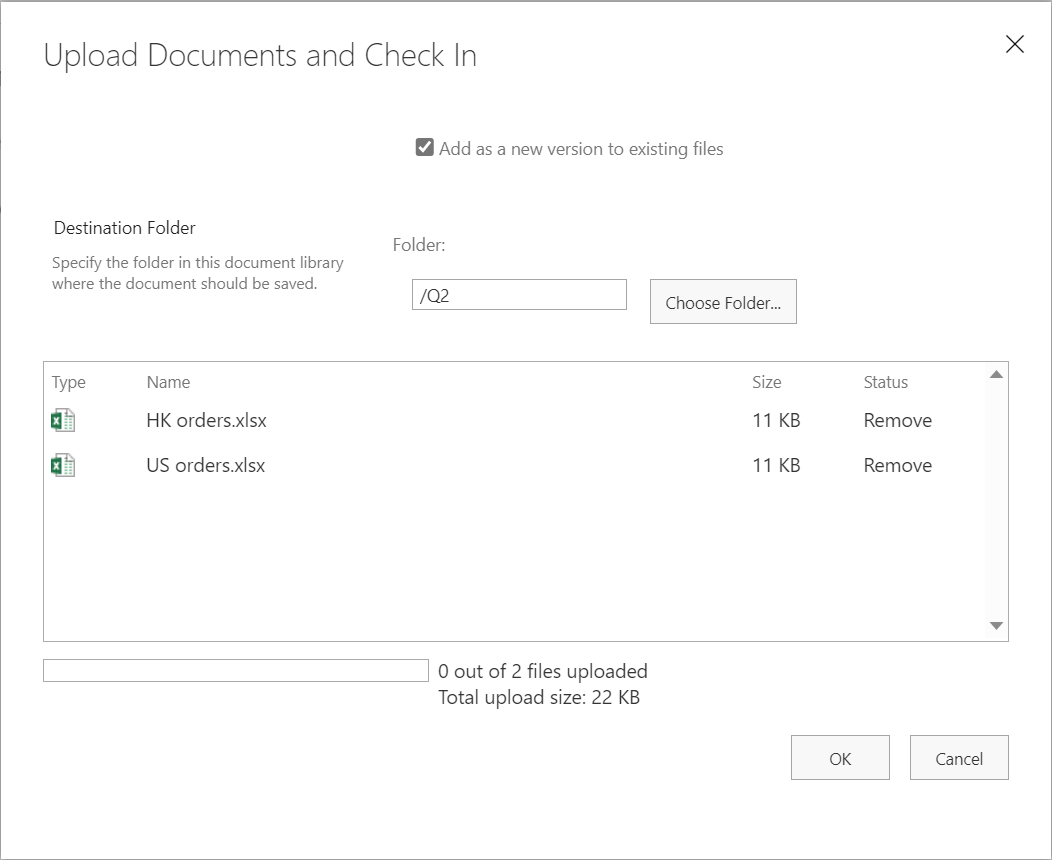
b. Drag multiple documents into the Upload Documents and Check In dialog and click OK. If you wish to store the documents in a folder, click Choose Folder.
c. You'll be redirected to the Check In Multiple Documents page. Here, you can bulk edit the properties and check in the documents.
d. In the Version and Retain Check Out sections, retain the default settings.
e. In the Edit Document Properties section, enter the values for the columns as demonstrated below.
f. Click OK. You'll find the uploaded documents are checked in with the updated properties as follows.