- BoostSolutions
-
Products
-
- Microsoft Teams
- HumanLike Alert Reminder
- View All Apps
- Pricing
- Support
- Company
Documents are the essential part of SharePoint library. Using documents in SharePoint Library is a usual task for users. And SharePoint provides many ways to manipulate documents, but it doesn’t have any functions like copy/move documents between SharePoint libraries.
List Transfer enables end users to copy/move documents in bulk between SharePoint libraries which makes it possible to reuse documents among multiple SharePoint libraries. In this article we will demonstrate how to copy documents between SharePoint libraries.
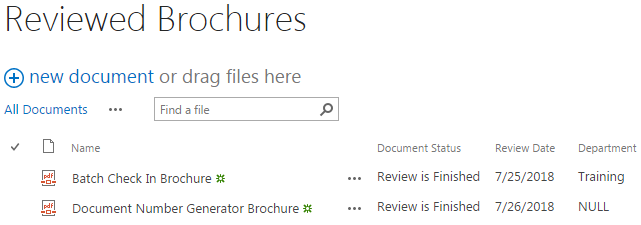
The two documents in Reviewed Brochures library above are copied from Product Brochures library. The columns were mapped automatically.
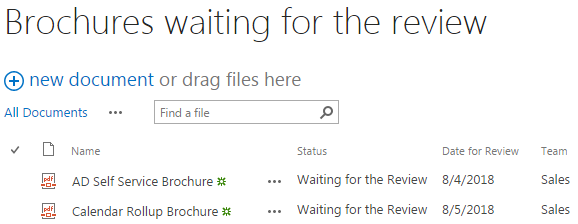
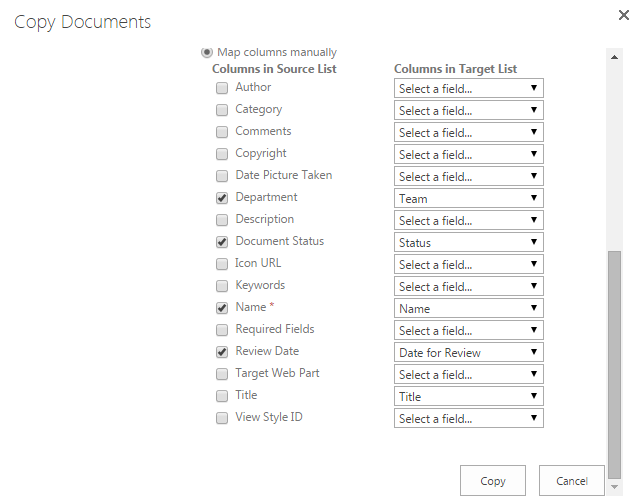
The two documents in Brochures waiting for the review library above are copied from Product Brochures library. The columns were mapped manually.
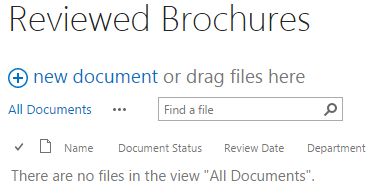
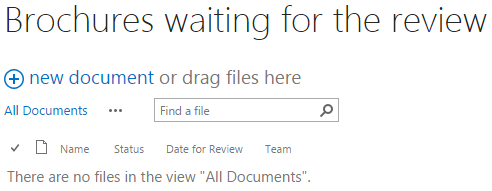
Then, let’s create another library named as Brochures waiting for the review with columns as following. In this library, we don’t create any documents for it either. We will copy documents from Product Brochures for it as well. Notice that columns in Brochures waiting for the review are not the same as that in the Product Brochures.
Download the trial version of List Transfer, and install it to your SharePoint server.
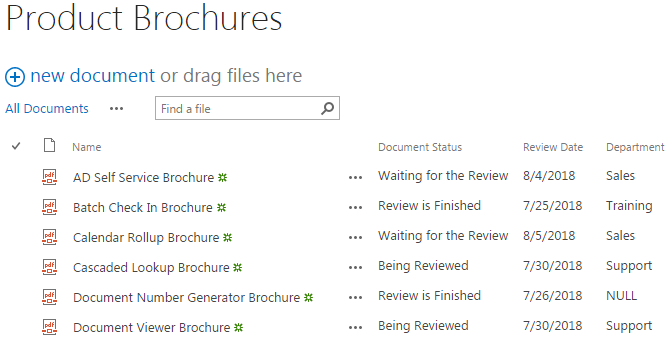
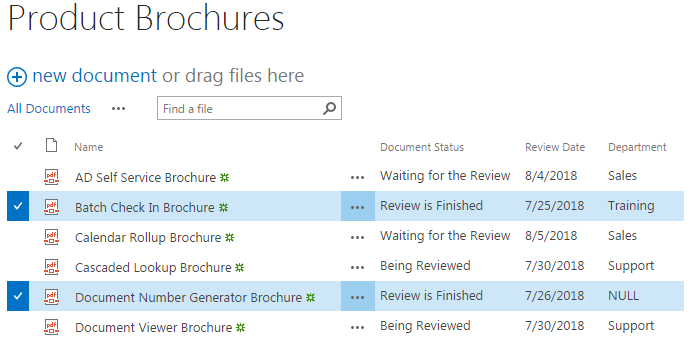
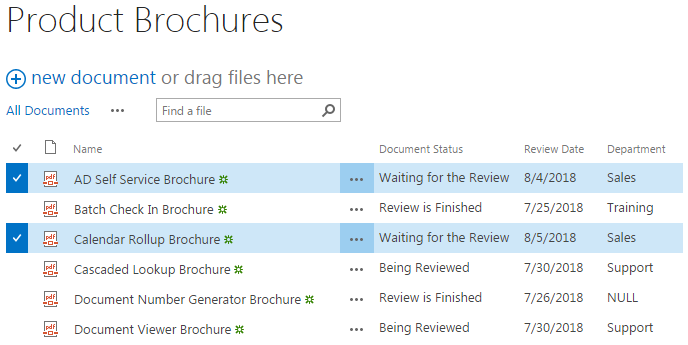
Navigate to the Product Brochures library prepared above.
Select documents which you want to bulk copy to Reviewed Brochures library. Here we selected the two documents showing below (the Batch Check In Brochure and the Document Number Generator Brochure).
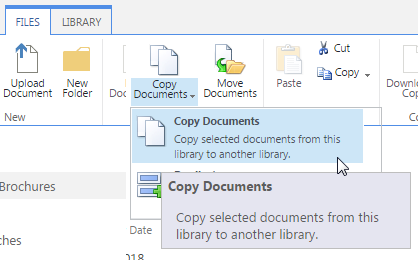
Click FILES tab, in the Copy & Move group, click Copy Documents.
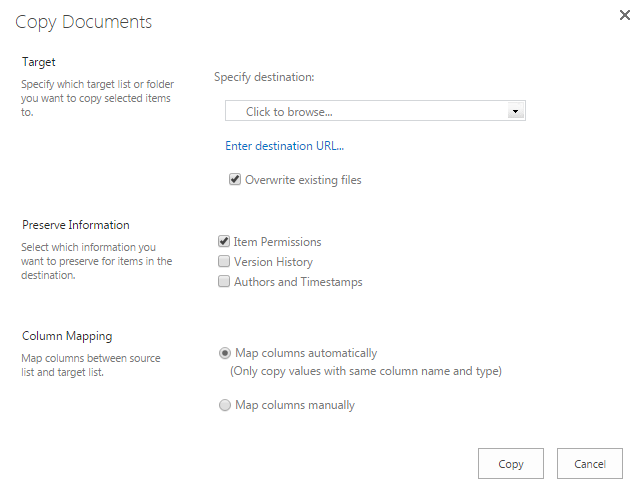
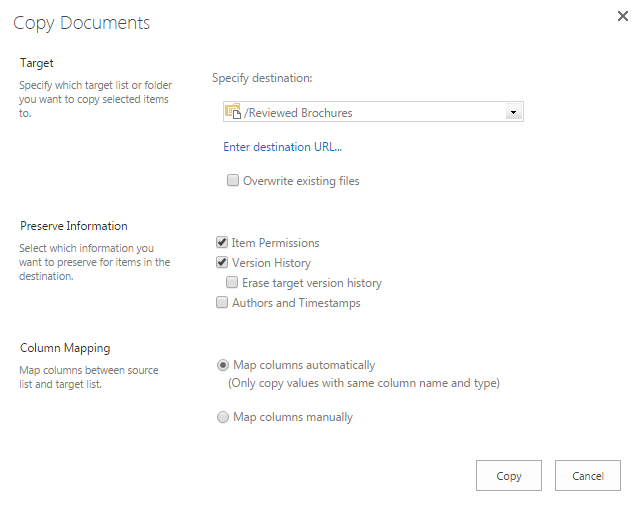
Then, you will be redirected to Copy Documents page. In Copy Documents page. There are 3 main sections:
Target: In this section, you will specify which target list or folder you want to copy selected items to. You can click Click to browse (or click the small downward triangular arrow on the right to expand the drop-down list) to choose a target list or you can enter destination URL. Below the Specify destination, you can find an option named as overwriting existing files, with it checked, the existing files in the target library will be overwritten by the copied ones if the copied ones have been in the target library already.
Preserve Information: In this section, you can select which information you want to preserve for items in the destination. There are 3 kinds of information you can preserve: Item Permissions, Attachments and Authors and Timestamps. The first option is checked by default.
Column Mapping: In this section, it enables you to map columns between source list and target list. You can choose to Map columns automatically (with this option checked, it only copies values with same column name and type) or Map columns manually.
In the Copy Documents page, let’s configure settings as following.
In the Target section, click Click to browse (or click the small downward triangular arrow on the right to expand the drop-down list) to select the Reviewed Brochures list we prepared above. Ignore the Overwrite existing files.
In the Preserve Information section, select Items Permissions and Version History. It means that the permissions and version history of selected document(s) will be copied along with the document(s) to the destination library. Leave the Erase target version history unchecked.
In the Column Mapping section, select Map columns automatically option. Note that the values can only be copied if the column names and types are the same in the source list and target list. Because the columns in the Reviewed Brochures are just the same as that in the Product Brochures, so we can use the automatic mapping here.
Click Copy. Then, the following window will pop up when the copying process is completed.

Click Go To Target to go to the Reviewed Brochures library, you will find out that the two selected documents have been copied successfully to this library as shown below.
If you navigate back to Product Brochures, you will find out that the two copied documents are still in it. That's what copy means. The selected document are copied and pasted from the source library to the target library, they will be existed in both of the libraries.
Download the trial version of List Transfer, and install it to your SharePoint server.
Navigate to the Product Brochures library prepared above.
Select documents which you want to bulk copy to Brochures waiting for the review library. Here we selected the two documents showing below (AD Self Service Brochure and the Calendar Rollup Brochure).
Click FILES tab, in the Copy & Move group, click Copy Documents.
In the Copy Documents page, let’s configure settings as following.
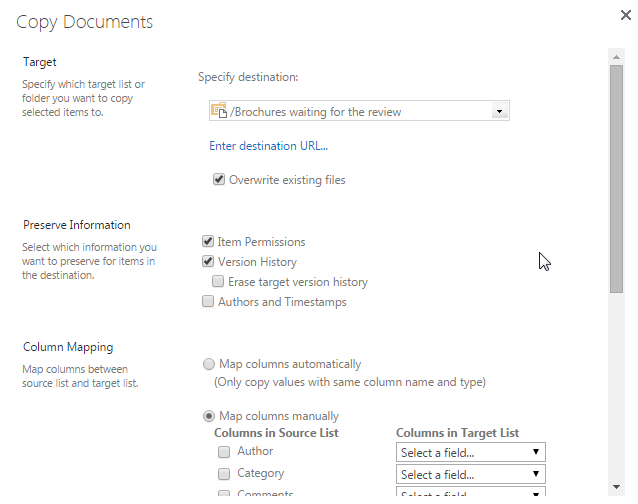
In the Target section, click Click to browse (or click the small downward triangular arrow on the right to expand the drop-down list) to select the Brochures waiting for the review list we prepared above. Keep other settings as default.
In the Preserve Information section, select Items Permissions and Version History. It means that the permissions and version history of selected document(s) will be copied along with the document(s) to the destination library. Leave the Erase target version history unchecked.
In the Column Mapping section, select Map columns manually option. Because the columns in the Brochures waiting for the review are not the same as that in the Product Brochures, so we need to map columns manually this time.
Click Copy after configurating the mapping. Then, the following window will pop up when the copying process is completed.

Click Go To Target to go to the Brochures waiting for the review library, you will find out that the two selected documents have been copied successfully to this library as shown below.
