- BoostSolutions
-
Products
-
- Microsoft Teams
- HumanLike Alert Reminder
- View All Apps
- Pricing
- Support
- Company
When you record or organize data in the Excel spreadsheet, you may have multiple sheets or tabs in one Excel spreadsheet. But how to import data from all sheets into the SharePoint list becomes a question.
BoostSolutions’ Excel Import offers a quick way to continuously import sheets from one Excel file into a SharePoint list.
In this article, we will demonstrate how to figure it.
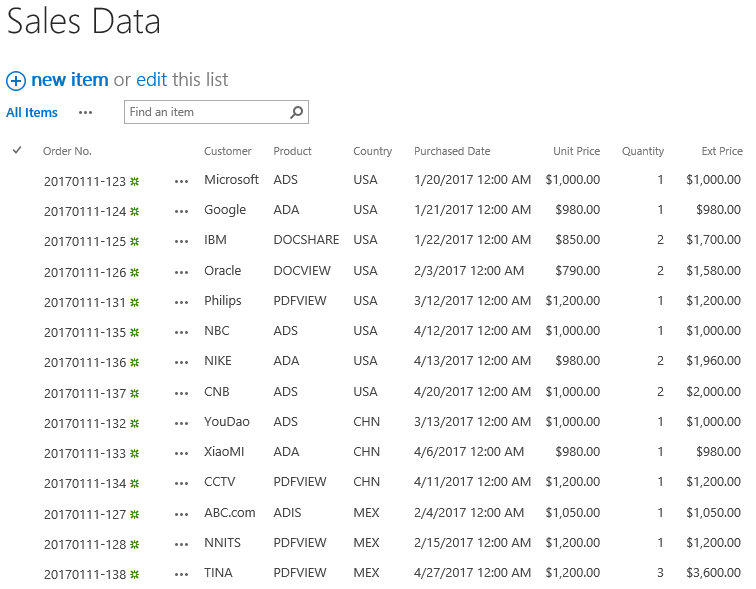
The rows of three sheets (USA, CHN and MEX) are imported to the SharePoint list
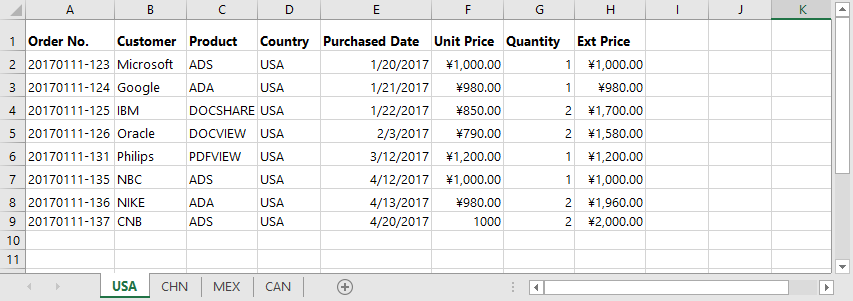
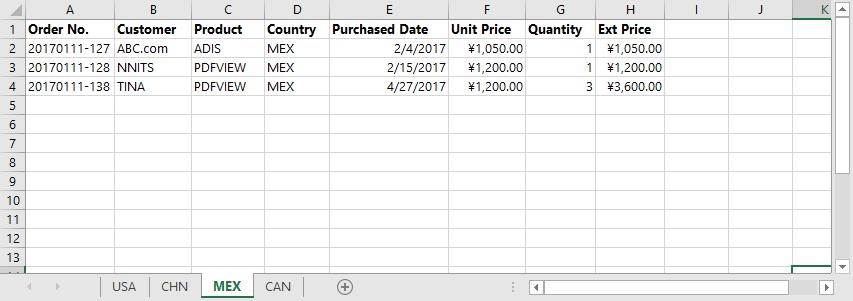
And there is an Excel file named as Sales Data, the Excel spreadsheet contains 4 sheets as following.
Firstly, download the trial version of Excel Import and install it to your SharePoint server.
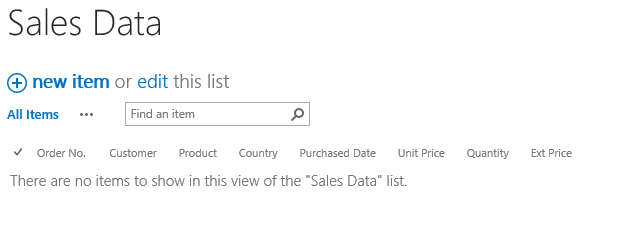
Navigate to the Sales Data list.
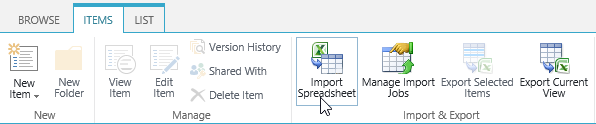
Under ITEMS tab, click Import Spreadsheet command in Import & Export group.
When the Import from Spreadsheet dialog appears, click Browse… button to choose the Sales Data file already prepared.
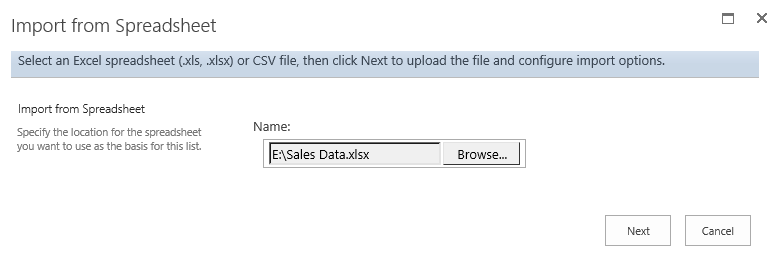
Click Next button.
In the Import from Spreadsheet dialog, configure these import options.
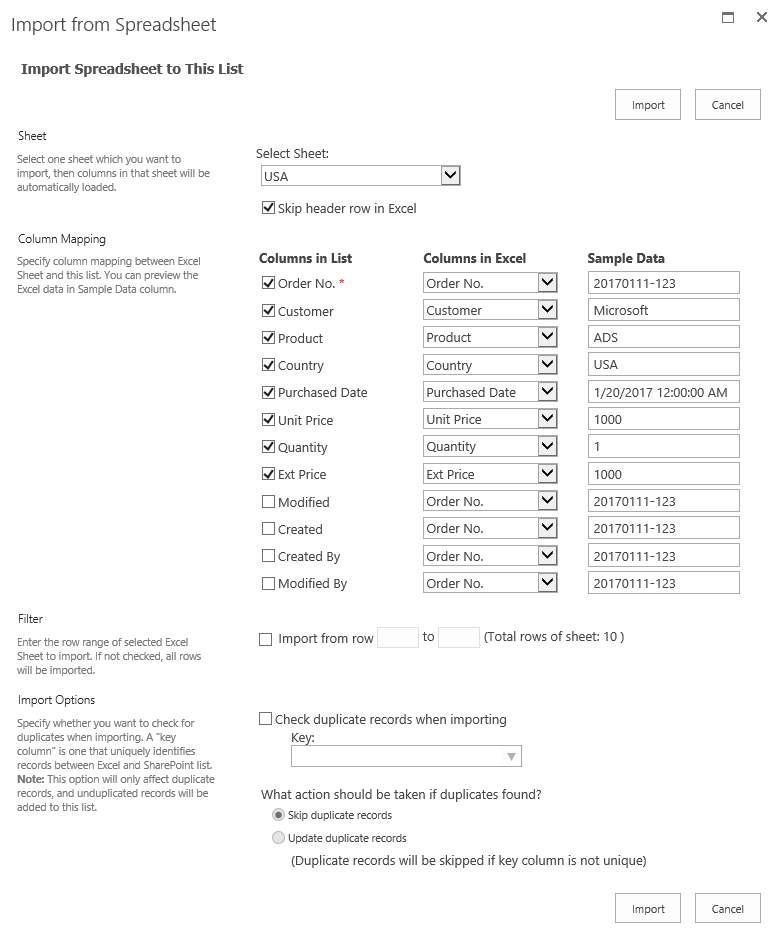
In the Sheet section, select USA to import. And select Skip header row in Excel option to skip importing header row into the list.
In the Column Mapping section, select these columns (Order No., Customer, Product, Country, Purchase Date, Unit Price, Quantity and Ext Price) to import to the list.
In the Filter section, because we want to import all rows into the list, unselect the option.
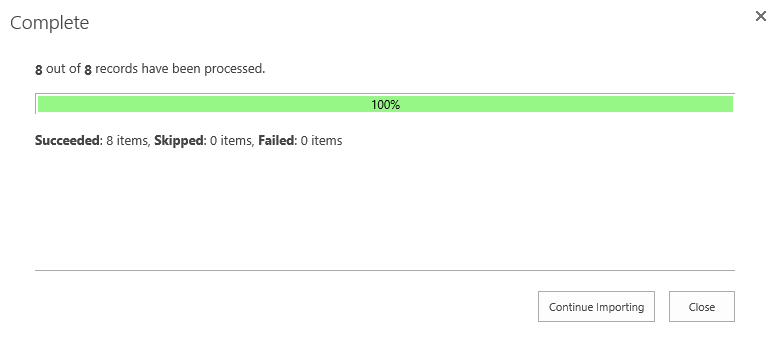
Keep other settings as default and click Import button.
After importing process finished, click Continue Importing button to import the second sheet.
After clicking Continue Importing button, you will be navigated to the Import Spreadsheet to This list dialog again. In the dialog, configure the import options as following.

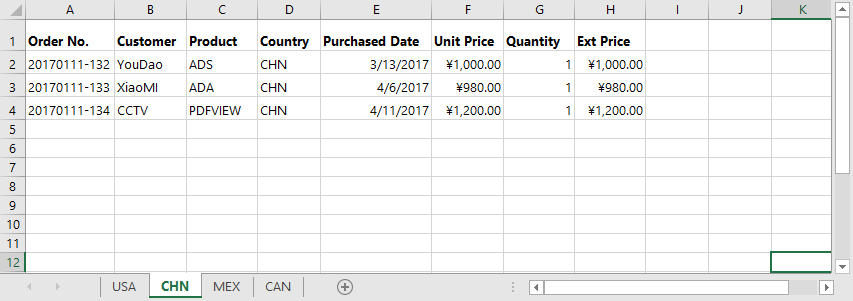
In the Sheet section, select CHN to import. And select Skip header row in Excel option to skip importing header row into the list.
In the Column Mapping section, select these columns (Order No., Customer, Product, Country, Purchase Date, Unit Price, Quantity and Ext Price) to import to the list.
In the Filter section, because we want to import all rows into the list, unselect the option.
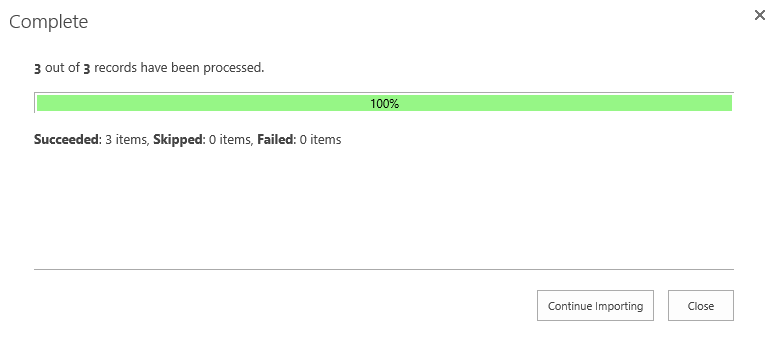
Keep other settings as default and click Import button.
After importing process finished, click Continue Importing button to import the third sheet.
In the Import Spreadsheet to This list dialog, configure the import options as following.
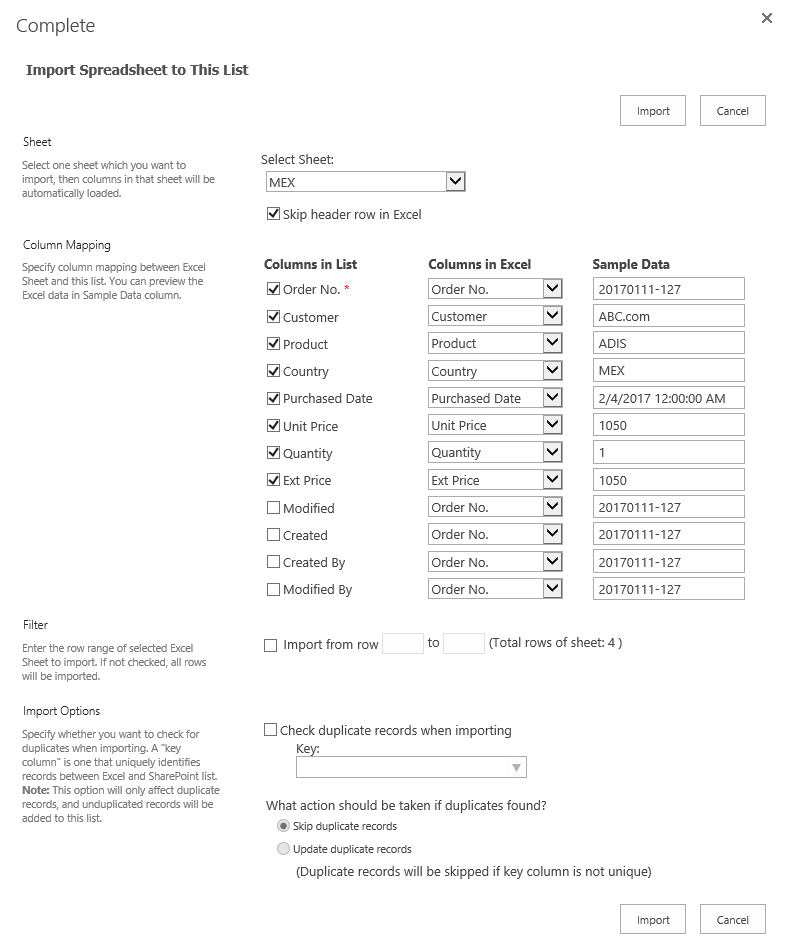
In the Sheet section, select MEX to import. And select Skip header row in Excel option to skip importing header row into the list.
In the Column Mapping section, select these columns (Order No., Customer, Product, Country, Purchase Date, Unit Price, Quantity and Ext Price) to import to the list.
In the Filter section, because we want to import all rows into the list, unselect the option.
Keep other settings as default and click Import button.
After importing process finished, click Close button.
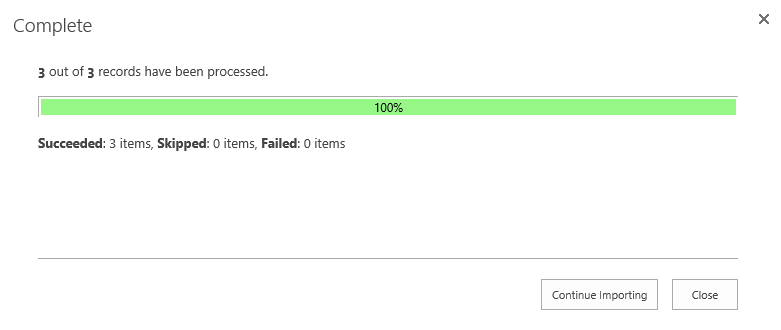
And then, you will find that the items of three sheets (USA, CHN and MEX) are all imported into the SharePoint list as following.
