- BoostSolutions
-
Products
-
- Microsoft Teams
- HumanLike Alert Reminder
- View All Apps
- Pricing
- Support
- Company
When you import data from Excel into a SharePoint list, you may encounter one question, how to deal with the duplicate items or rows, update duplicate items or skip duplicate items? BoostSolutions’ Excel Import provides the option to help you to deal with this issue.
In this article, we will demonstrate how to skip the duplicate items when importing data from Excel to a SharePoint list.
Select "Skip duplicate records" option to skip the duplicated items in the SharePoint list
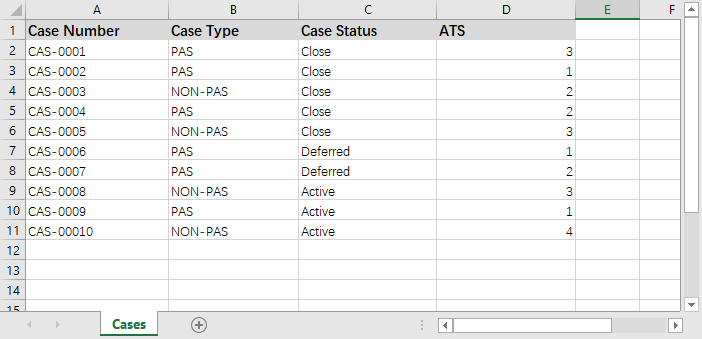
And there is an Excel file named as Case List, the Excel spreadsheet contains these customer information as following.
Firstly, download the trial version of Excel Import and install it to your SharePoint server.
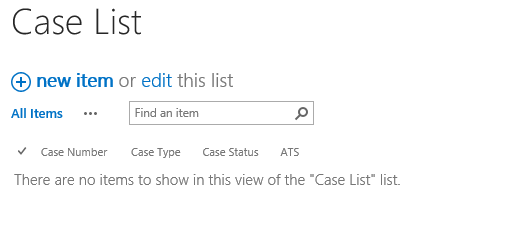
Navigate to the Case List.
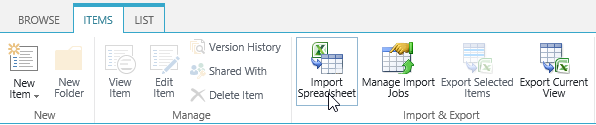
Under ITEMS tab, click Import Spreadsheet command in Import & Export group.
When the Import from Spreadsheet dialog appears, click Browse… button to choose the Case List file already prepared.
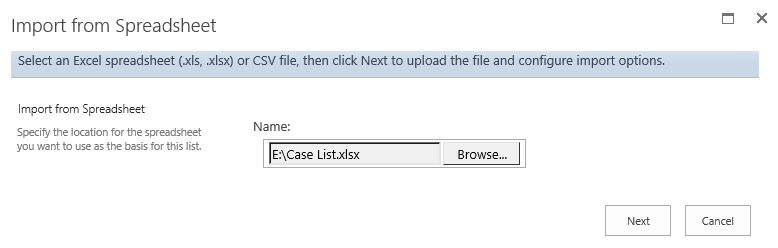
Click Next button.
In the Import from Spreadsheet dialog, configure these import options.
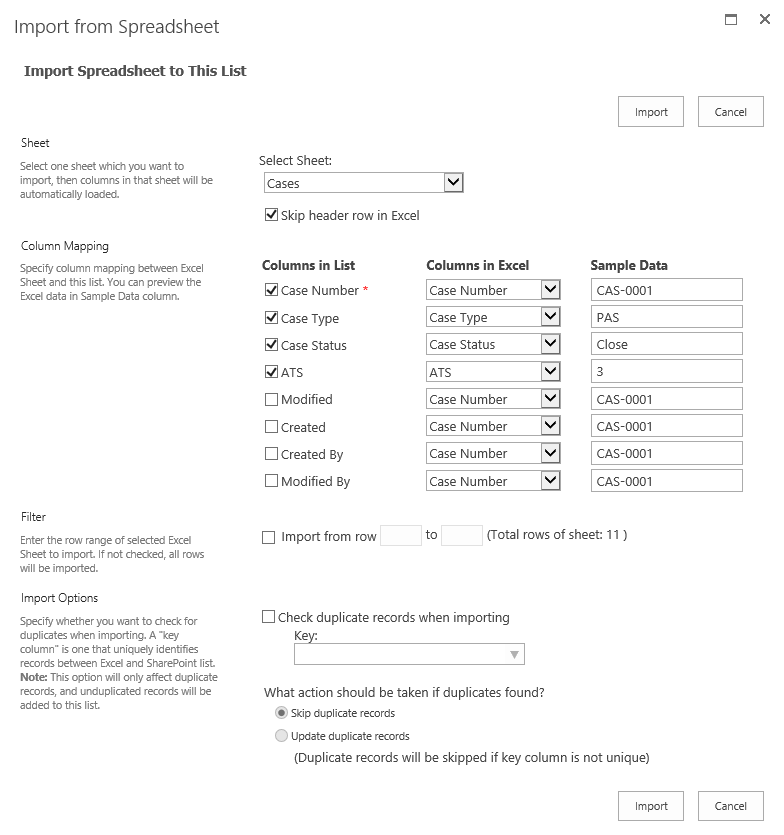
In the Sheet section, select sheet Cases to import. And select Skip header row in Excel option to skip importing header row into the list.
In the Column Mapping section, select these columns (Case Number, Case Type, Case Status and ATS) to import to the list.
In the Filter section, because we want to import all rows into the list, unselect Import from row [] to [] option.
In the Import Options section, unselect Check duplicate records when importing option.
Keep other settings as default and click Import button.
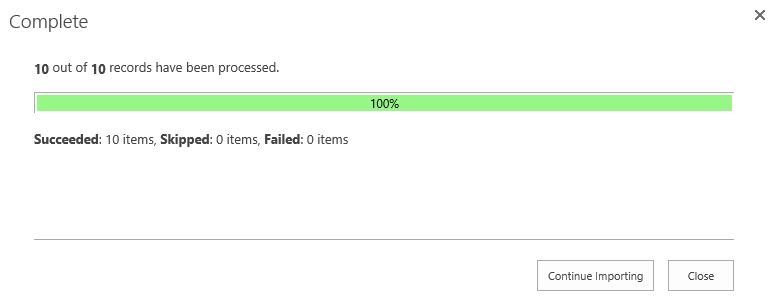
After importing process finished, click Close button to exit.
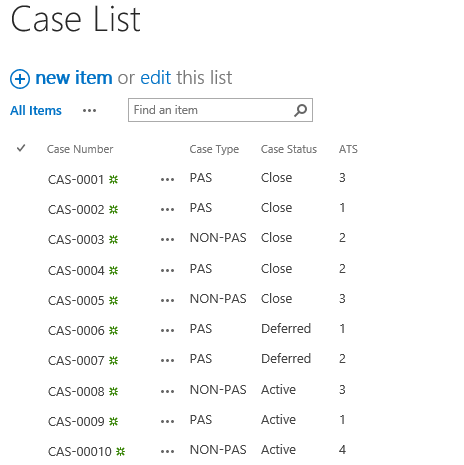
Then in the Case List, you will find that the items of Excel spreadsheet are imported into the list as following.
In the Excel spreadsheet Case List, modify the Case Status of CAS-0008 and CAS-0009 as Close, and create a new case CAS-00011.

Under ITEMS tab, click Import Spreadsheet command in Import & Export group.
When the Import from Spreadsheet dialog appears, click Browse… button to choose the Case List file already prepared.
Click Next button.
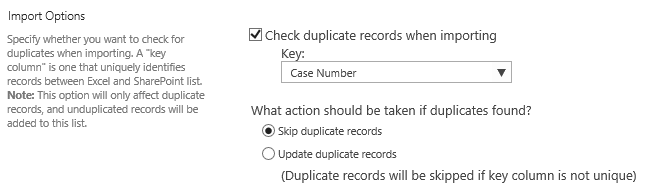
When the Import from Spreadsheet dialog appears, in the Import Options section, select Check duplicate records when importing option. Then specify Case Number as key and select Skip duplicate records option.
Duplicate records can exist in both SharePoint list and Excel Sheet. In order to duplicate records, a Key has to be specified to identify duplicate records. A key column is one that uniquely identifies records between Excel and SharePoint list (like an ID column).
Once you select Skip duplicate records option, data which has been detected as duplicate records in an Excel spreadsheet will be skipped when importing and the remaining data will be imported.
Keep other settings as default and click Import button.
After importing process finished, click Close button to exit.
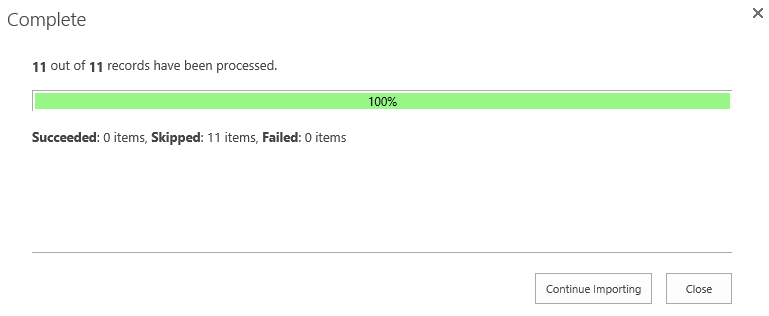
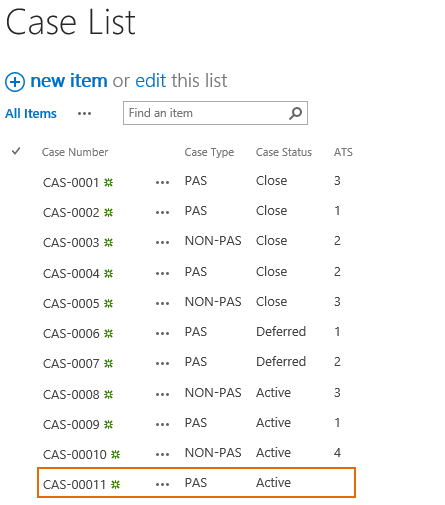
Then in the Case List, you will find that the modified items CAS-0008 and CAS-0009 are skipped update in the list, and the new case CAS-00011 is created in the list.