- BoostSolutions
-
Products
-
- Microsoft Teams
- HumanLike Alert Reminder
- View All Apps
- Pricing
- Support
- Company
In SharePoint, numbers are only stored as abstract values in Number Columns. They cannot convey any substantial meaning. Actually, behind each number, there is a definite meaning it tries to convey.
Measured Number Column lets you associate a unit type such as inches or pounds with a number to make it meaningful and more readable.
In this tutorial, we will guide you through how to add this customized column to a SharePoint list.
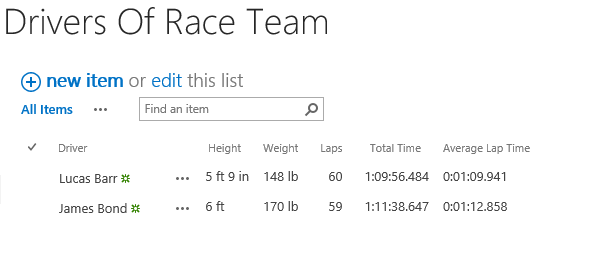
For demonstration, here we create a SharePoint list named as Drivers Of Race Team, in this list, we will record the Driver, Height, Weight, Laps and Total Time of drivers.
a. Navigate to this SharePoint list, click LIST > List Setting > Title.
b. Change the Column name from Title to Driver.
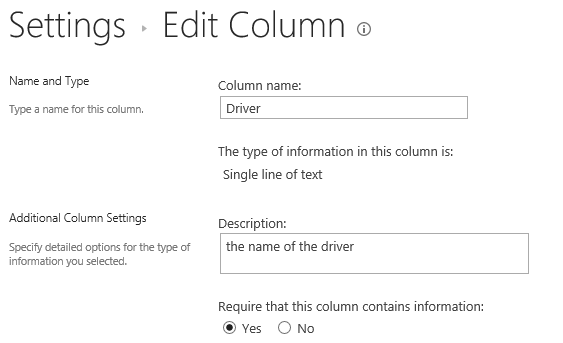
c. Click OK to save the settings.
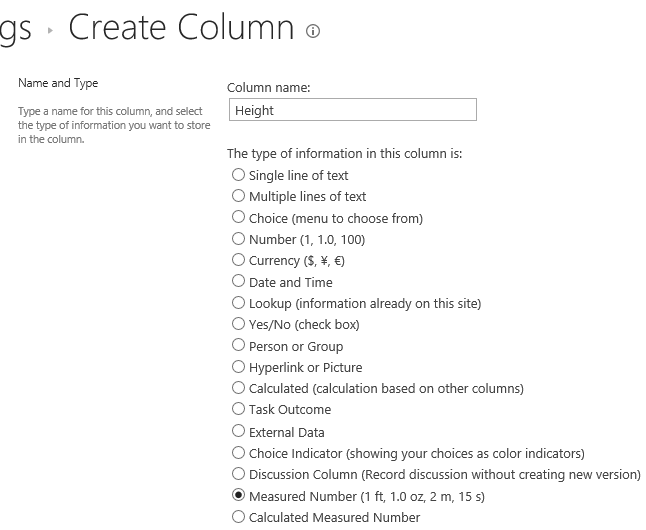
d. Then, on the Drivers Of Race Team Settings Page, click Create Column to create the column for Height.
e. On the Create column page, enter the Column name as Height to save the height of the driver, then select Measured Number as the type of information, in the Measurement and unit section, select length for the Measurement and select …ft…in(…-…) for the Unit. For other display settings, select the corresponding options according to your preference.
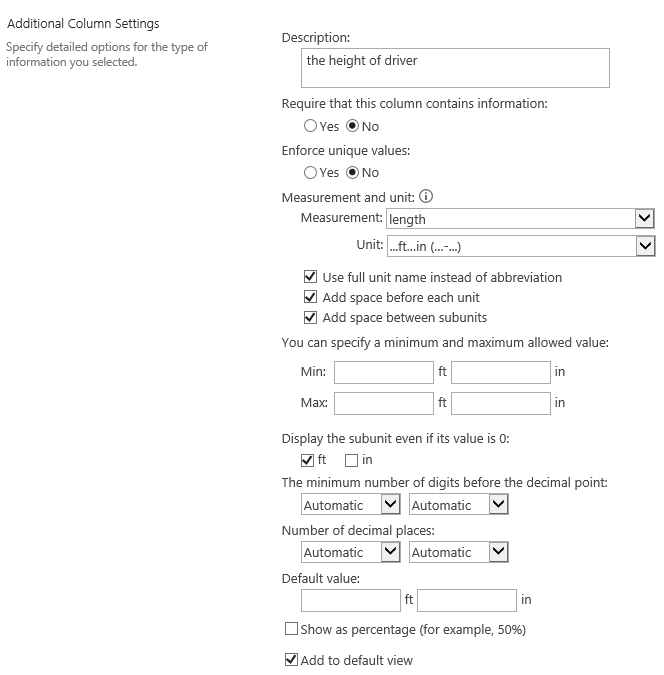
Use full unit name instead of abbreviation: Here we select this option, then the Height will be shown as …ft…in; otherwise, it will be shown as …-… (such as 5ft9in and 5-9).
Add space before unit: Here we select this option, then it will be shown as 5 ft9 in; otherwise, it will be shown as 5ft9in for instance.
Add space before subunits: Here we select this option, it will be shown as 5 ft 9 in; otherwise, it will be shown as 5 ft9 in for instance.
You can decide the display appearance of unit according to your own preference through manipulating these three options.
Min and Max: If you want to restrict the input value within a certain range, you can specify a minimum and maximum value here. Otherwise, there will be no restriction for the input value.
Display the subunit even if its value is 0: Decide if the subunit will be shown when its value is 0. Here we select this option, it will be shown as 6 ft if the driver's height is 6 ft 0 in for instance.
The minimum number of digits before the decimal point: Specify the minimum number of digits that should be displayed before the decimal point. Here we keep the default settings.
Number of decimal places: Specify how many numbers in the decimal places. Here we keep the default settings.
f. Click OK to save settings.
g. Repeat this process to create the column for Weight. Click the Create column button again.
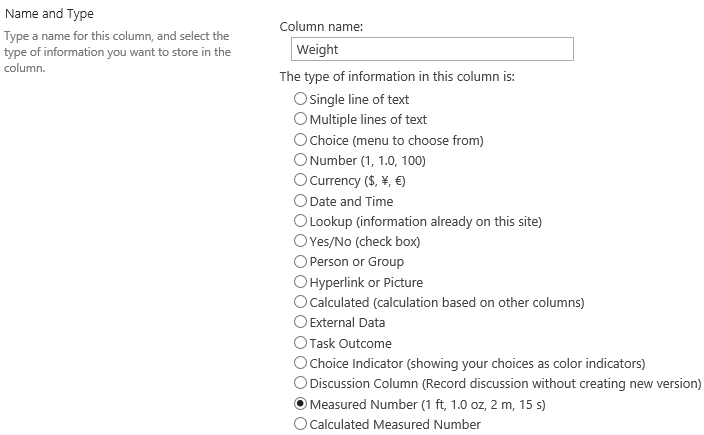
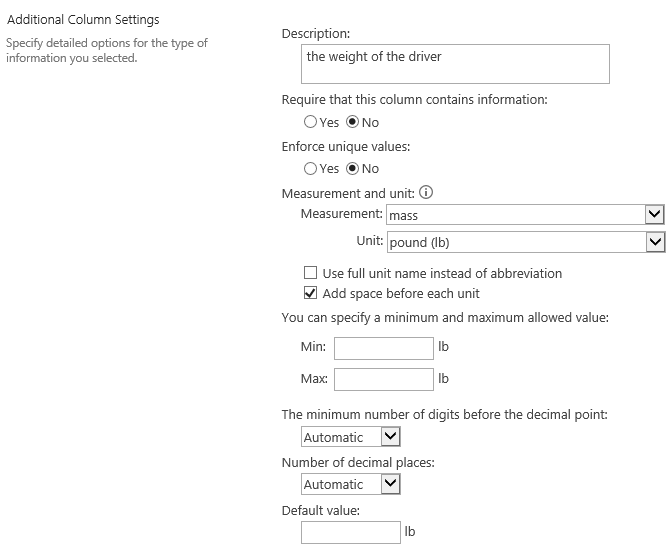
h. On the Create column page, enter the Column name as Weight to save the weight of the driver. Select Measured Number as the type of information, then in the Measurement and unit section, select mass for the Measurement and select pound(lb) for the Unit. For display settings, we don't select Use full name instead of abbreviation, then the pound will be shown as lb.
i. Then, click OK to save the settings.
j. Repeat this process to create the column for Laps. Click the Create column button again.
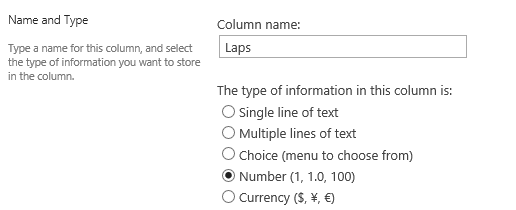
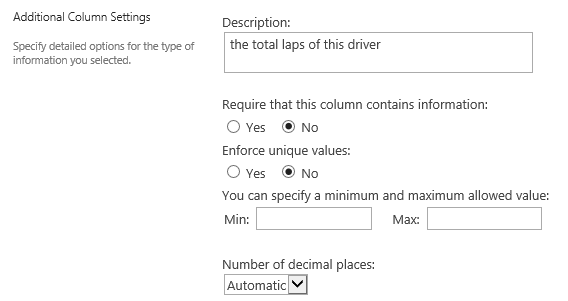
k. On the Create column page, select Number as the type of information, then enter the Column name as Laps to save the total laps of the driver.
l. Then, click OK to save the settings.
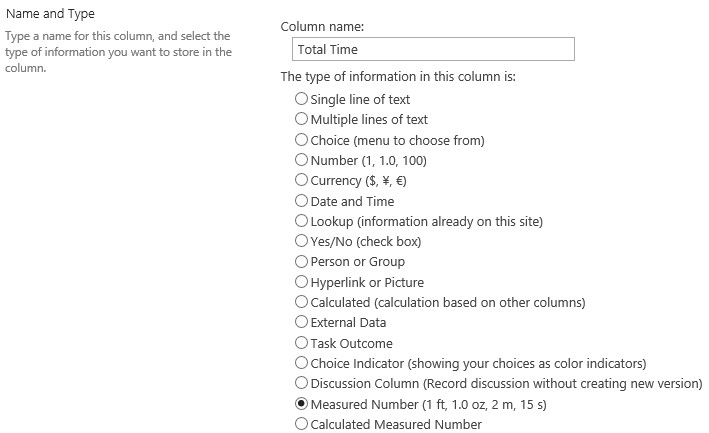
m. Repeat this process to create the column for Total Time. Click the Create column button again.
n. On the Create column page, enter the Column name as Total Time to save the total time of laps of the driver. Select Measured Number as the type of information, then in the Measurement and unit section, select time for the Measurement and select …:…:… for the Unit.
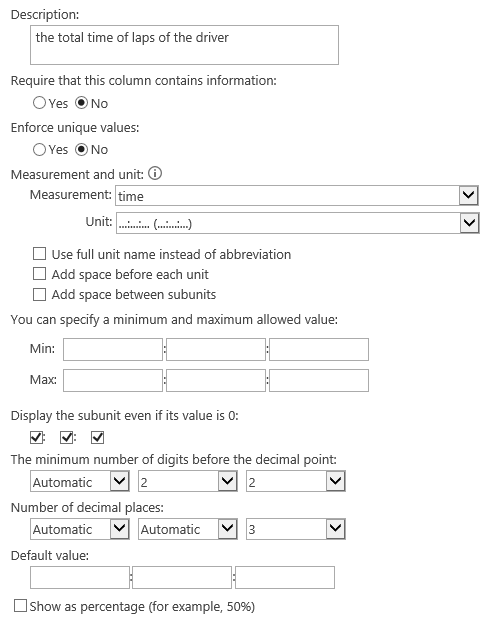
For display settings, don't select these three options: Use full name instead of abbreviation; Add space before each unit; Add space between subunits. Then the hour, minute, second will be displayed next to each other without space. Select all of the Display the subunit even if its value is 0; For The minimum number of digits before the decimal point and Number of decimal places, configure them as shown in the screenshots below.
o. Then, click OK to save the settings.
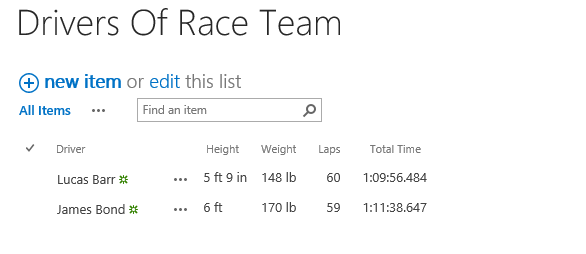
p. Navigate to the list, create two new items. You will find that the numbers are shown with their units configured as shown below.
a. Navigate to the Drivers Of Race Team list, click LIST > List Setting > Create column.
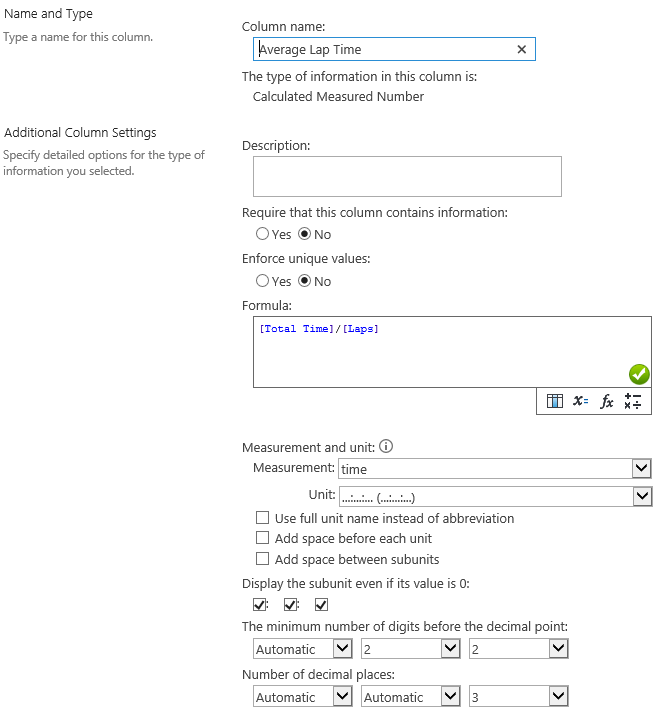
b. On the Create column page, enter the Column name as Average Lap Time to save the average time of laps of the driver, then select Calculated Measured Number as the type of information.
c. In the Formula section, create the formula ([Total Time] / [Laps]) to calculate the average time of laps. In the Measurement and unit section, select time for the Measurement and select …:…:… for the Unit. For other display settings, please refer to the screenshots below.
d. Click OK to save the settings.
e. Navigate to the list; you will find the calculated result has already shown in the list with the unit type we configured above.
Through Measured Number Column supports all 7 SI base measurement units and up to 21 units derived from them, you might still have some particular demands for measurements according to your company or organization's unique requirements. For this situation, you can customize your own units of measurements, for example, clicks, people and seats can all be units of measure.
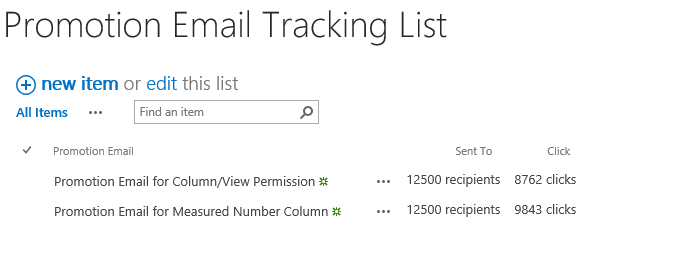
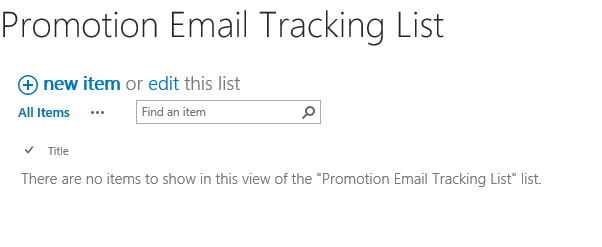
For demonstration, here we create a SharePoint list named as Promotion Email Tracking List, in this list, we will record how many recipients the email will be sent and how many clicks have been triggered on this email.
The Recipients and Clicks are not pre-defined units, now, let's try to create them for our own.
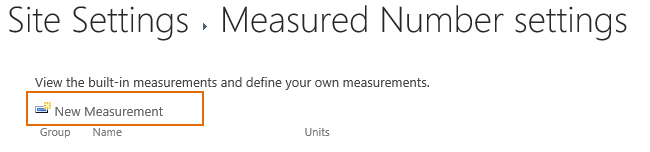
a. Navigate to the Site Settings page, in Site Collection Administration section, find and click Measured Number settings(Powered by BoostSolutions).

b. On the Measured Number settings page, click New Measurement.
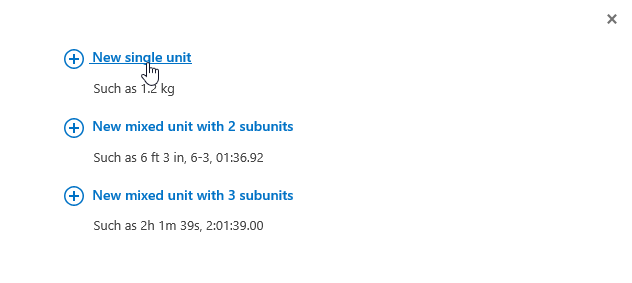
c. In the New Measurement dialog, specify a name and description (optional) for it, here, we name it as units for promotion email then click the New unit link.
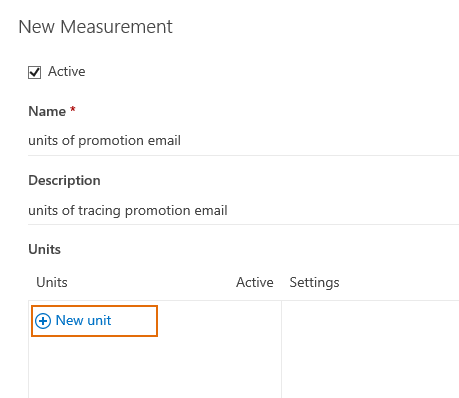
d. Click New single unit, and specify a name and abbreviation for it. Here, we name the unit as recipients and give it an abbreviation as r, then click Set default settings to expand the settings section. Here we select Use full unit name instead of abbreviation option to show the unit's full name and keep others as default.

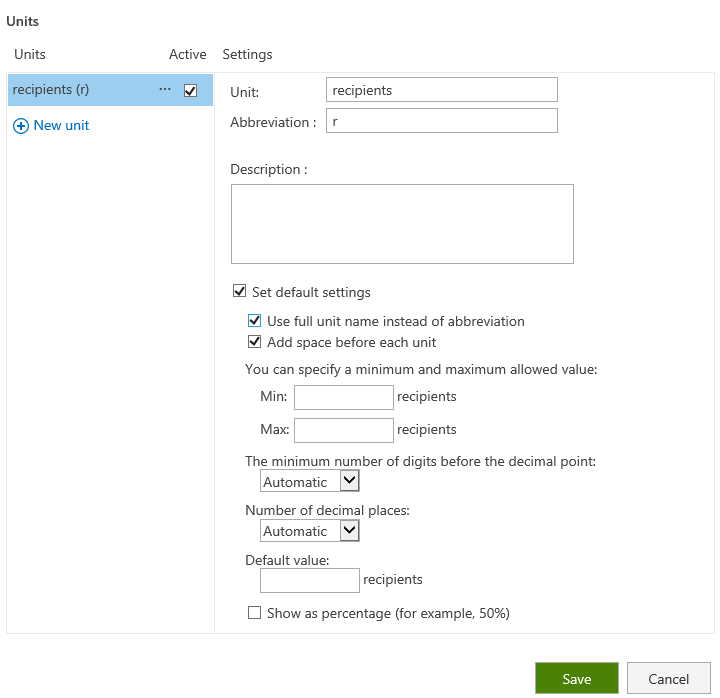
e. Click Save button to save the settings.
f. Now let's try creating the other customized Measured Number column for our list.
g. Navigate to the Site Settings > Measured Number settings page, click units for promotion email under User Defined section, then click edit.

h. On the Edit page, click New unit, then click New single unit and specify a name and abbreviation for it. Here, we name the unit as clicks and give it an abbreviation as c, then click Set default settings to expand the settings section. Here we select Use full unit name instead of abbreviation option to show the unit's full name and keep others as default.
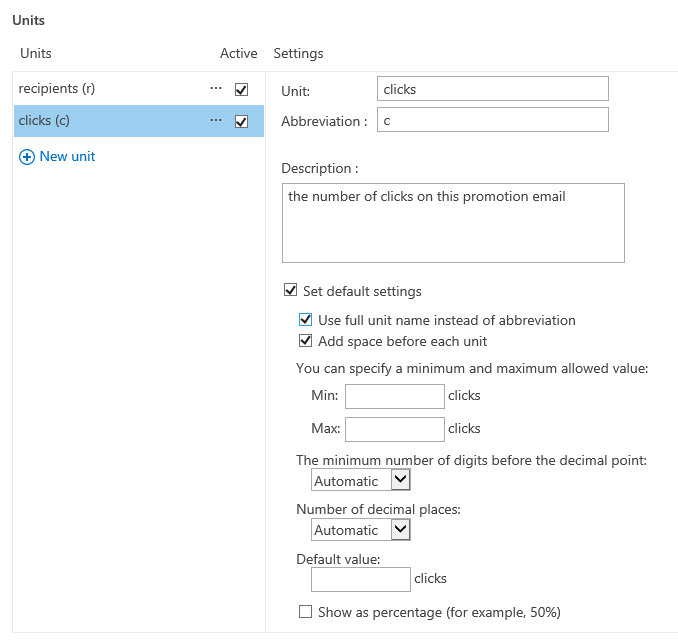
i. Click Save to save the settings.
j. Now, let's navigate back to the Promotion Email Tracking List, create two customized Measured Number Columns for it, using the units we just created.
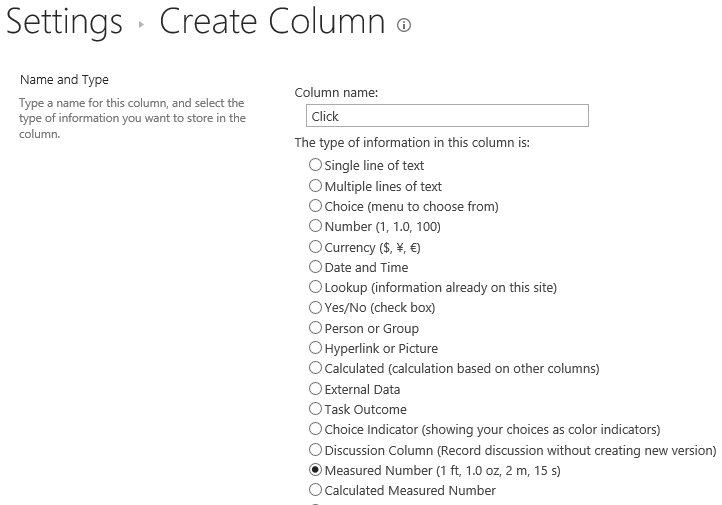
k. Click LIST > List Setting, click Create column.
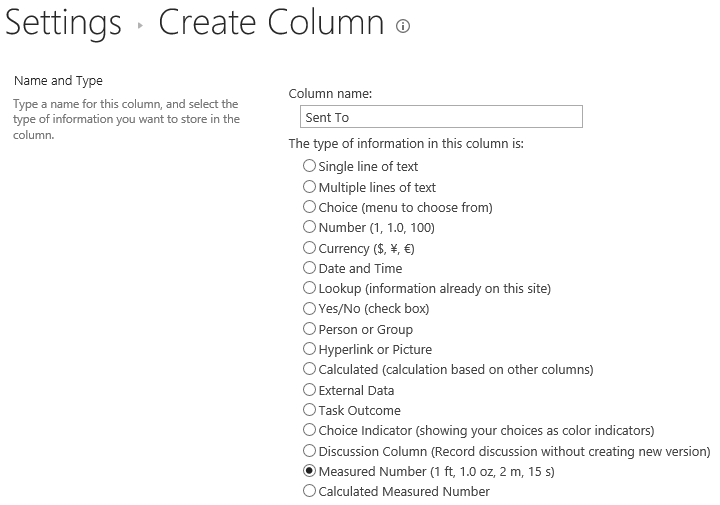
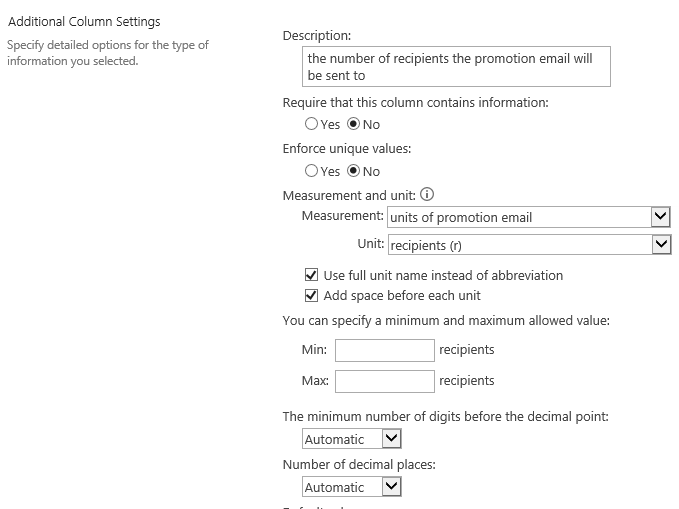
On the Create column page, enter the Column name as Sent To to save the number of recipients the promotion email will be sent to, then select Measured Number as the type of information, in the Measurement and unit section, select units for promotion email for the Measurement and select recipients(r) for the Unit.
For other display settings, select the corresponding options according to your preference. Click OK to save the settings.
l. Repeat this process to create the other customized Measured Number Column for our list.
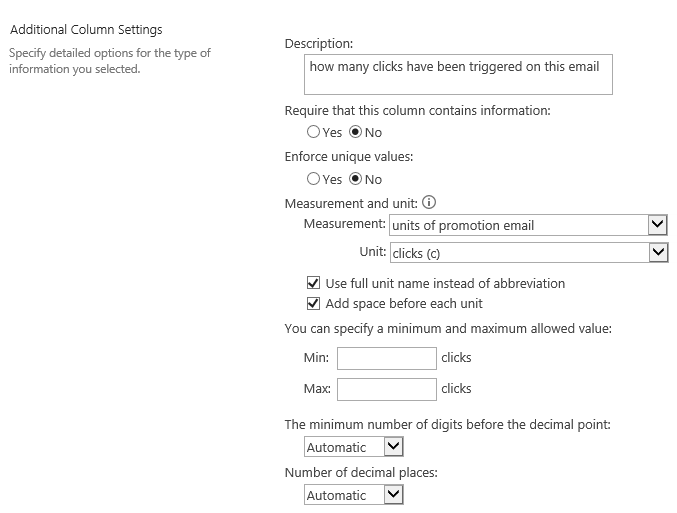
Click Create column. On the Create column page, enter the Column name as Click to save how many clicks have been triggered on this email, then select Measured Number as the type of information, in the Measurement and unit section, select units for promotion email for the Measurement and select click(c) for the Unit.
For other display settings, select the corresponding options according to your preference. Click OK to save the settings.
m. Now, click the column Title, change its Column name from Title to Promotion Email and Click OK.
n. Now, let's create two new items for our list, they will be shown as below.