- BoostSolutions
-
Products
-
- Microsoft Teams
- HumanLike Alert Reminder
- View All Apps
- Pricing
- Support
- Company
Users will be redirected to the next available list view by default when they try to access a view which has been set as hidden in a SharePoint list. You may want to notify users if the view is unavailable and give users options to access other views or go back to site under the circumstances.
“Use redirect page” feature is just designed for this situation. With “Use redirect page” activated, a message page will appear when users try to access hidden views.
This article will introduce how to configure Use redirect page settings to give users more choice when the view they are trying to access is hidden to them.
A message page appears to indicate users to visit other pages as the current view is not available
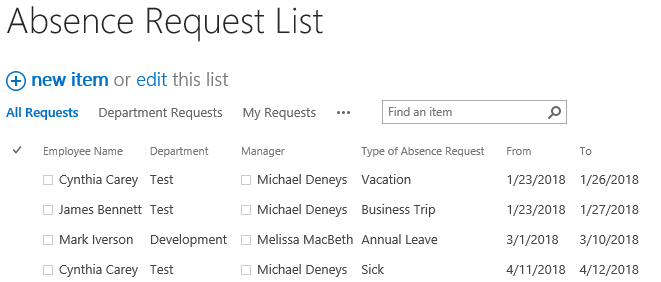
And create three views in the Absence Request List, named as All Requests, Department Requests and My Requests.
Download the trial version of Column/View Permission, and install it to your SharePoint server.
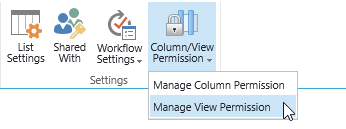
Navigate to the Staff List prepared above, click List, then click Column/View Permission in Settings group, and then click Manage View Permission.
In the View Permission Settings page, click Advanced Settings on the top right corner.

In the Advanced Settings page, select Stop inheriting setting option. Then the Redirect Page Settings becomes configurable status.
In the Redirect Page Settings section, click the checkbox of Use redirect page.
There are some preset notify messages provided by default, you also can customize the message.

Then, click OK to save the settings.
In the View Permission Settings page, click Add Permission Part to create a new permission part (we call a permission configuration as a permission part), specify a unique name for it.
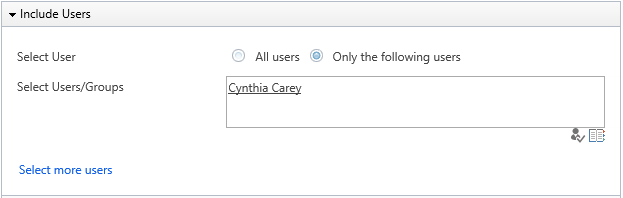
In Include Users section, input a SharePoint user Cynthia Carey in the Select Users/Groups part as following.
Of course, you can input any SharePoint users, SharePoint groups, Active Directory groups, or users represented by Person or Group fields (such as Created By, Modified By and Assign To) or anonymous users.
In Permission Settings section, set the Access Type for Requests, Department Requests and [Personal View] views as Hidden.
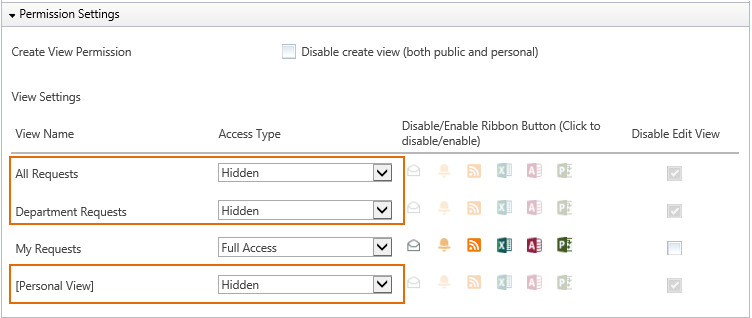
Then, click OK to save all settings for this permission part.
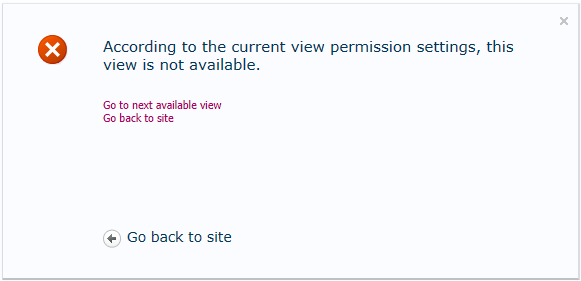
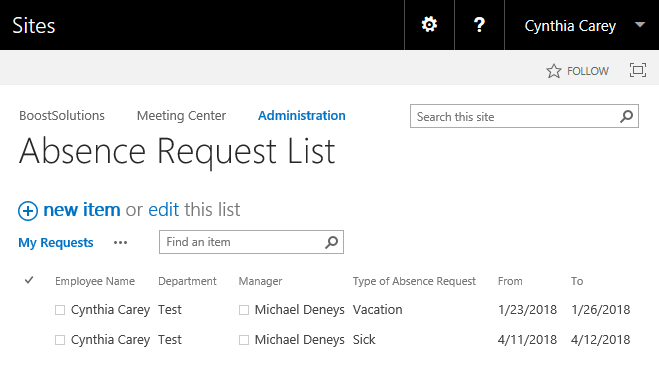
Log in to SharePoint as user Cynthia Carey, and navigate to the Absence Request List list.
Because the list’s default view (All Requests) has been set as hidden from her, the following message appears.
Click Go to next available view link, user Cynthia Carey accesses the My Requests view.
If Cynthia Carey clicks Go back to site link, she will be redirected to the site page.
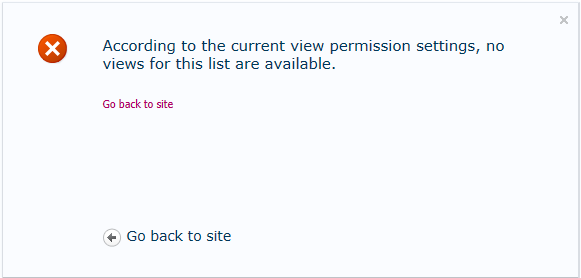
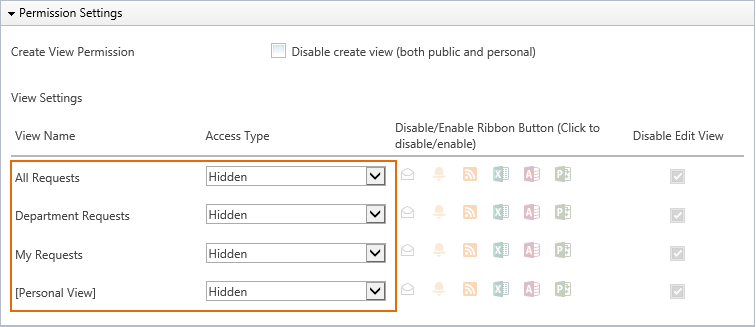
Now, let’s modify the permission part we created above, in Permission Settings section, set the Access Type as Hidden for all views, including All Requests, Department Requests, My Requests and [Personal View] views. Then click OK to save the settings.
Log in to SharePoint again as user Cynthia Carey, and navigate to the Absence Request List.
Because all list views have been set as hidden from her, the following message appears. The only option for her is Go back to site then.