- BoostSolutions
-
Products
-
- Microsoft Teams
- HumanLike Alert Reminder
- View All Apps
- Pricing
- Support
- Company
Using BoostSolutions’ Document Maker to generate documents based on the SharePoint list fields, you have to create or upload a Word template in a SharePoint list firstly. A template is used to generate a document that is populated with data from SharePoint list.
In this article, we will explain how to create a Word template in a SharePoint list.
Create a Word template in Purchase-Orders list
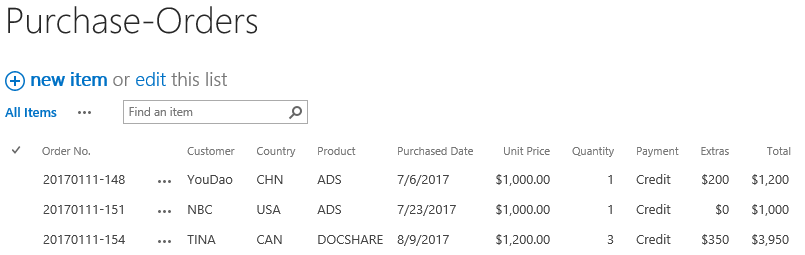
There is a SharePoint list named as Purchase-Orders, the list includes these columns and items as following.
Firstly, download the trial version of Document Maker and install it to your SharePoint server.
And then install Document Maker add-on in Word application.
Navigate to Purchase-Orders list.

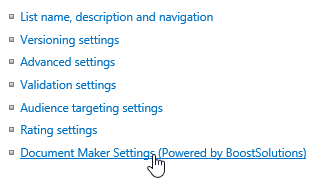
Or, in the List Settings page, click Document Maker Settings under General section.
In the Document Maker Settings page and click Create new template.

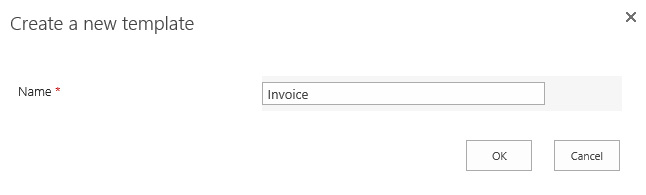
When the create a new template dialog appears, type a name for it, such as Invoice, and then click OK.
And then a confirm dialog will appears as following, click OK to edit the template.
And then the Word template opens, you will find that fields of Purchase-Orders list are listed on the left panel as following.
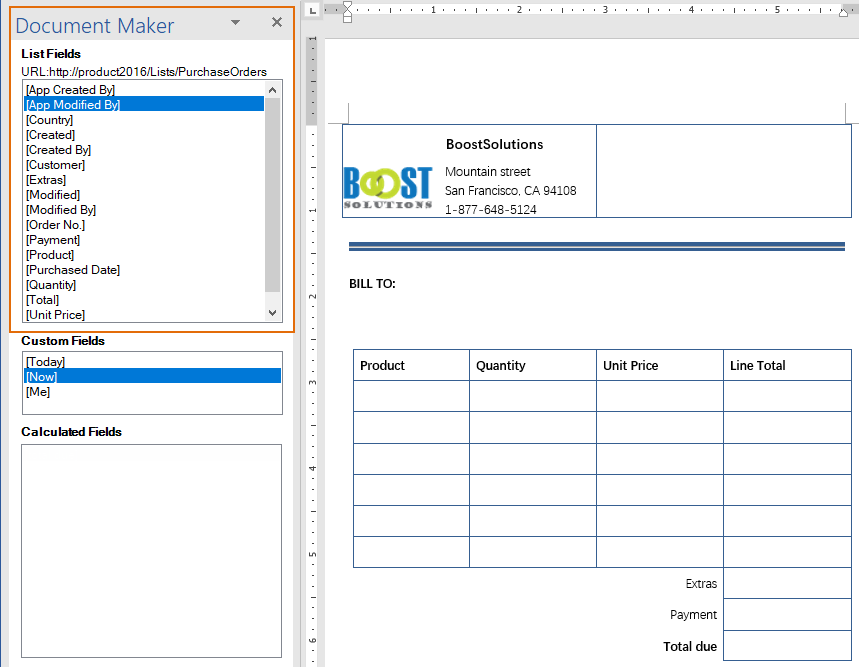
In the Word template, move the cursor to the special position and double click the list field on the left panel.
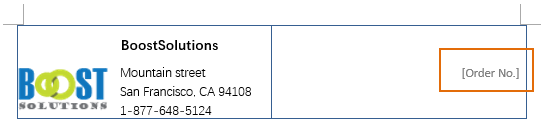
Here we move the cursor to the header and double click Order No. on the left panel as following.
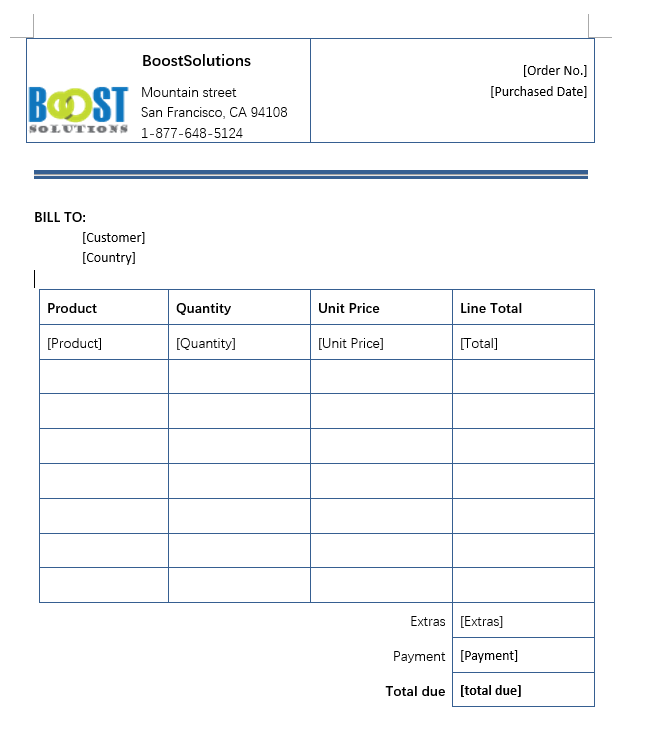
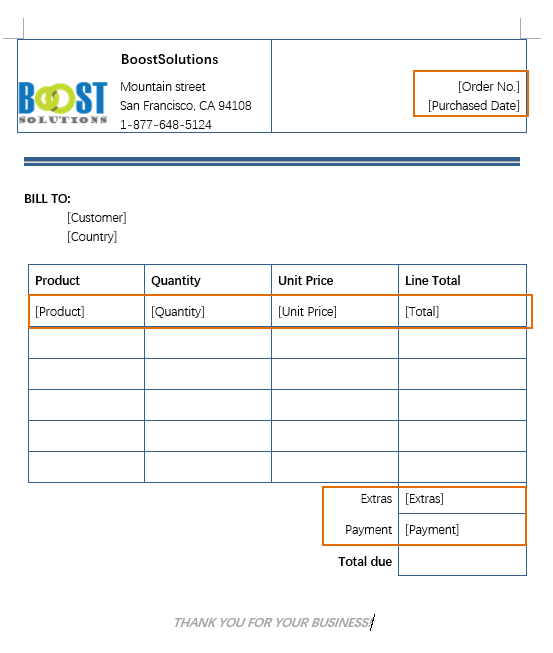
Then, we insert other list fields into other positions in the Word template as following and specify the font size and format for the inserted fields as same as other parts.
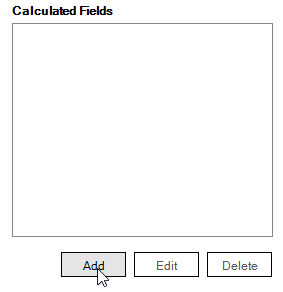
On the left panel, in the Calculated Fields, click Add button.
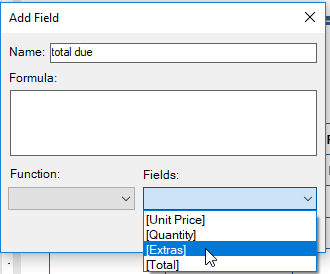
When the Add Field dialog appears, type a name for it – total due.
Move the cursor in the Formula textbox, select [Extras] fields from Fields drop-down menu and insert it into the Formula textbox.
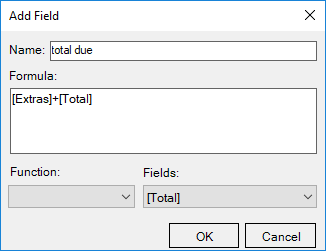
And type the plus “+” and insert [Total] fields into the Formula textbox as following.
And then, you will find a field named as [total due] in the Calculated Fields box.
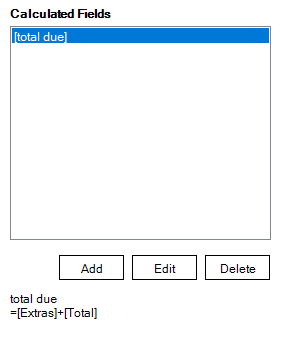
Insert the field [total due] into the table cell which is next to the Total due as following.
Now, a Word template is done. When you generate the document based on this template, the corresponding values of list fields will be inserted into the specified positions.
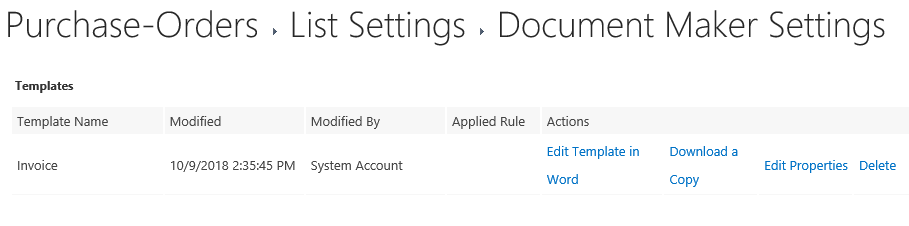
Save the template and click Word application. And then you will find a template is created in the Document Maker Settings page as following.