- BoostSolutions
-
Products
-
- Microsoft Teams
- HumanLike Alert Reminder
- View All Apps
- Pricing
- Support
- Company
BoostSolutions’ Document Maker enables the SharePoint end users to generate documents based on the SharePoint list fields. Before you use this product, you have to first install the Document Maker add-on in Word. With the Document Maker, you can connect to SharePoint list and insert list fields into the Word template.
This article explains how to install Document Maker add-on in Word.

Install Document Maker add-on in Word
Firstly, download the trial version of Document Maker and install it to your SharePoint server.
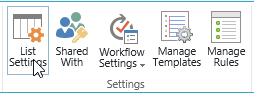
Go to one SharePoint list, click List Settings in Settings group.
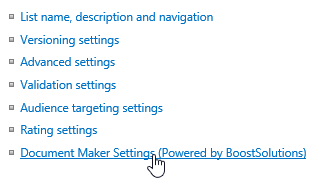
In the List Settings page, click Document Maker Settings under General section.
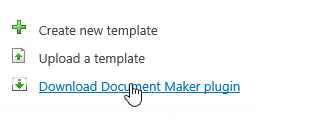
In the Document Maker Settings page and click Download Document Maker plugin.
And then save the DocumentMakerPlugin.zip file on your local computer.
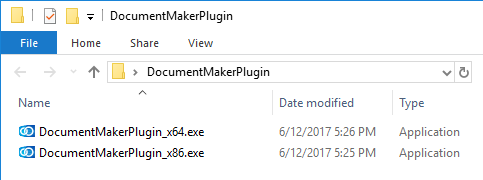
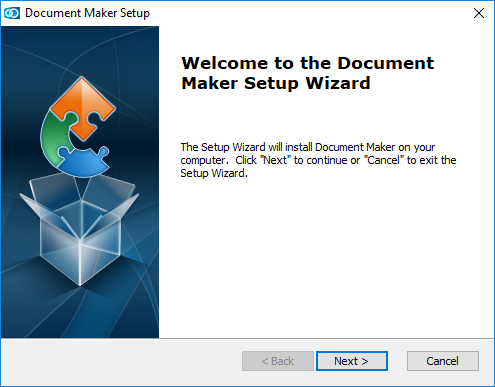
Run the DocMakerPlugin_x64 or DocMakerPlugin_x86 file. The Document Maker Plugin Setup Wizard will appear; click Next to continue.
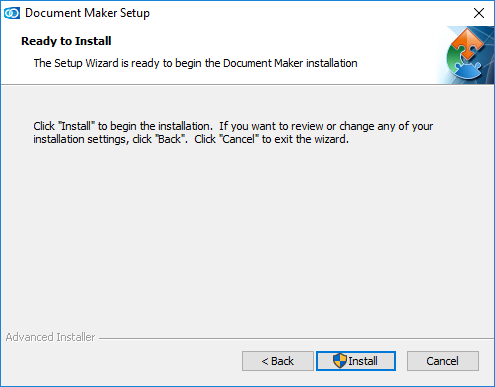
In the Ready to Install window click Install.
Installation details will be displayed in the Installation window while the procedure is running.
After the process is completed click Finish to close the setup wizard.

And then open Word application on the computer, a Document Maker tab will appear on the ribbon in Word.
