- BoostSolutions
-
Products
-
- Microsoft Teams
- HumanLike Alert Reminder
- View All Apps
- Pricing
- Support
- Company
Using BoostSolutions’ Document Maker to generate documents based on the SharePoint list fields, you have to create or upload a Word template in a SharePoint list firstly. If you already have a Word template and need to connect to a SharePoint list, you can compose this Word template and upload it to the list.
In this article, we will explain how to upload a Word template in a SharePoint list.
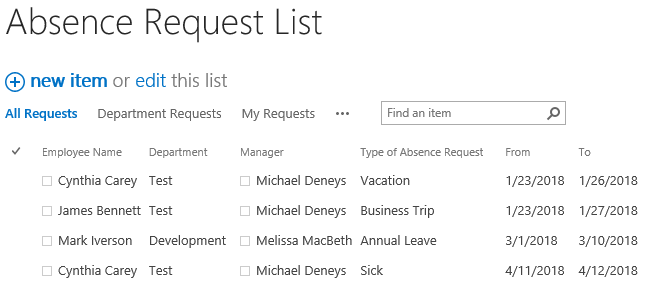
Upload a Word template in Absence Request List
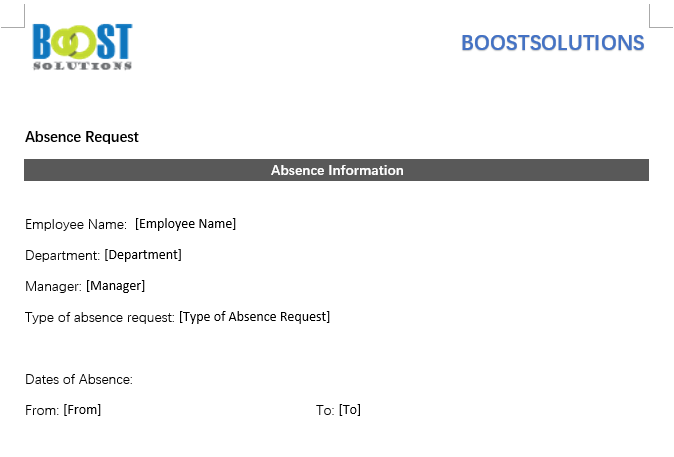
And this is the absence request template in Word format.
Firstly, download the trial version of Document Maker and install it to your SharePoint server.
And then install Document Maker add-on in Word application.
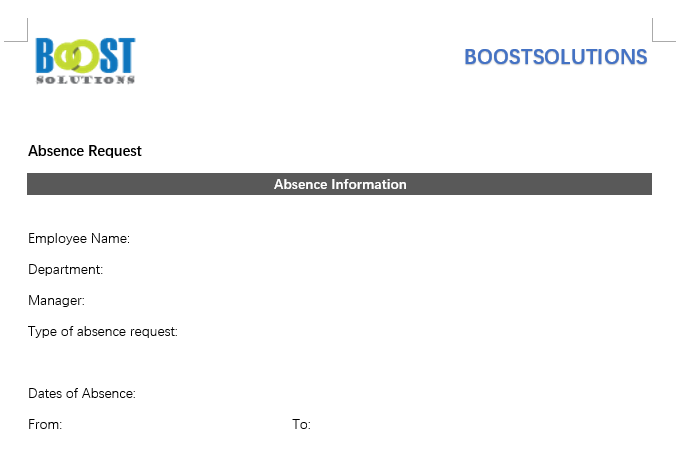
Open the absence request Word template.
Under Document Maker tab, click Data Connection command.

When Connect to SharePoint dialog appears, type the URL of Absence Request List in List URL box; select Windows authentication and type the user name and password.
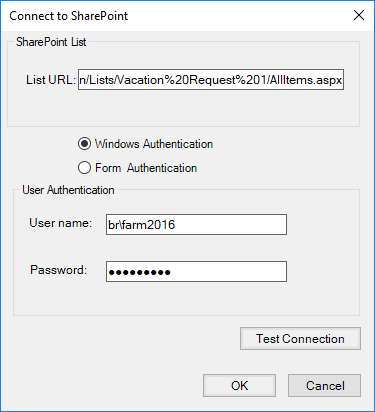
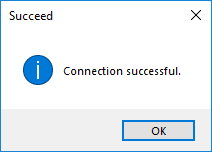
Click Test Connection button; once the connection is successful, the following message will appear. Click OK.
In Connect to SharePoint dialog, click OK button. And then the list fields are shown on the left panel.

Move the cursor next to Employee Name in the Word template, and double click [Employee Name] in List Fields box.
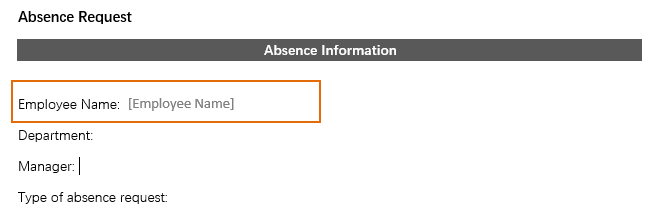
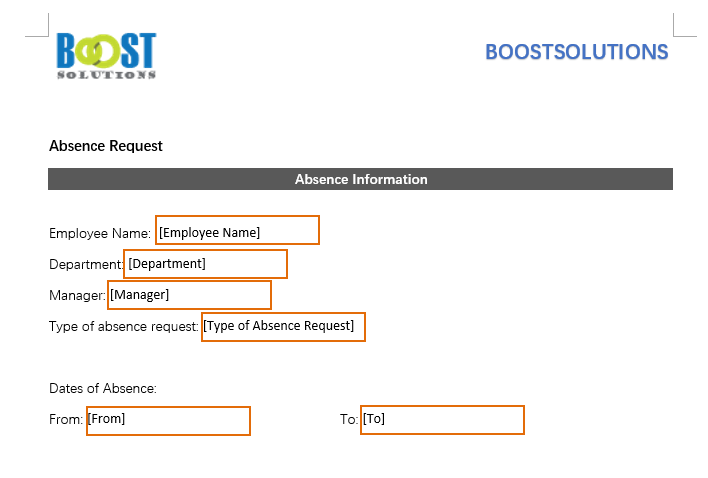
And then insert more list fields into other positions in the Word template as following.
Save the Word template and close it.
Navigate to Absence Request List, under LIST tab, click Manage Templates in Settings group.

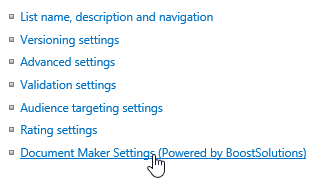
Or, in the List Settings page, click Document Maker Settings under General section.
In the Document Maker Settings page and click Upload a template.

When Upload Document Template dialog appears, click Browse… to choose the absence request template.
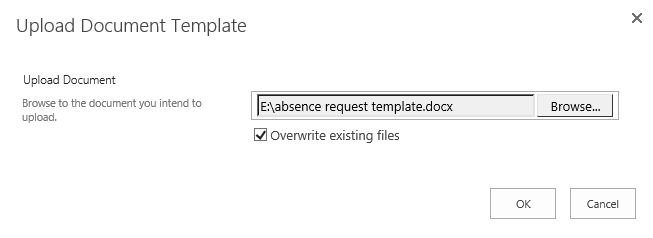
Once the Word template is selected, click OK button. And then the template is uploaded in the Document Maker Settings page as following.

After a Word template is uploaded, when you generate the document based on this template, the corresponding values of list fields will be inserted into the specified positions.
