- BoostSolutions
-
Products
-
- Microsoft Teams
- HumanLike Alert Reminder
- View All Apps
- Pricing
- Support
- Company
Using BoostSolutions’ Document Maker to generate documents based on SharePoint list fields, you do not need to name the generated document individually. because the Document Maker enables you to pre-define a rule to generate names for the documents.
This article will introduce how to design a rule to name the generated documents.
Named the generated documents based on a pre-designed rule
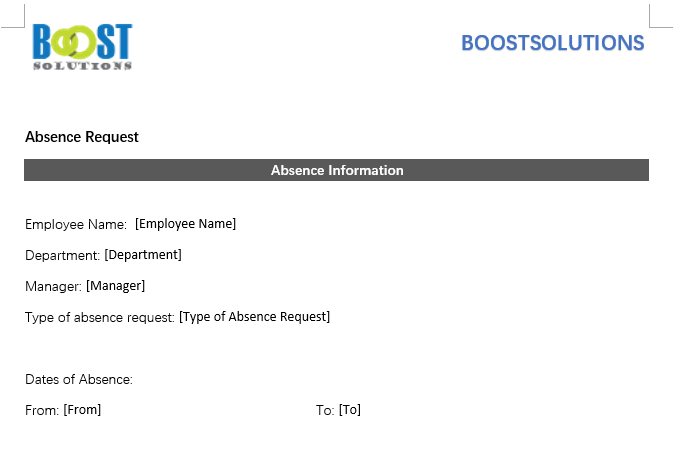
And this is the absence request template in Word format.
Firstly, download the trial version of Document Maker and install it to your SharePoint server.
And then install Document Maker add-on in Word application.
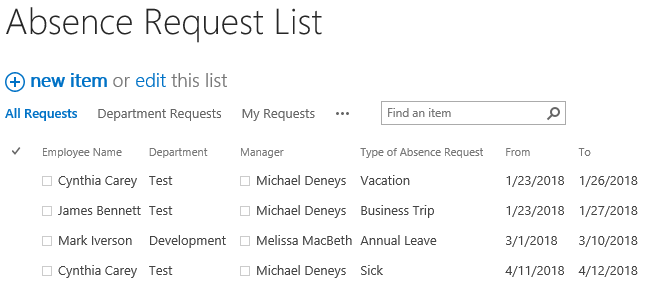
Navigate to the Absence Request List appeared above.
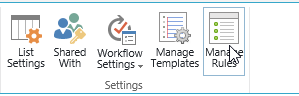
Under LIST tab, click Manage Rules in Settings group.
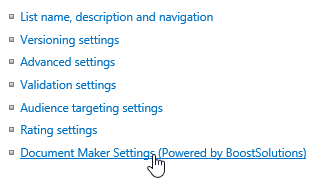
Or, in the List Settings page, click Document Maker Settings under General section.
In the Document Maker Settings page, upload absence request template in the Document Maker settings page as following.

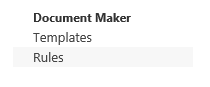
In the Document Maker Settings page and click Rules on the left panel.
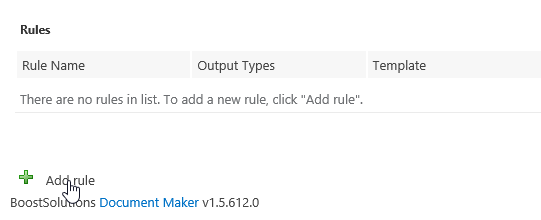
And then click Add rule.
In the Add rule page, specify a name this rule, such as rule for absence request.
In Select Template section, select absence request template, which means that the document will be generated using this selected template.

In Naming Rule section, specify the name follow these steps.
You can define the naming rule using metadata in list or customized text and combine the values with separator such as underline _; after the rule is setup, once a document is generated the specific field will be replaced by the corresponding values.
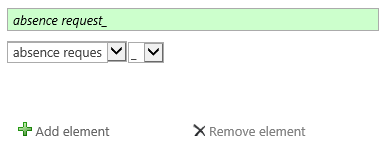
Open the first drop-down menu and click Custom Text. When the textbox appears, type absence request;
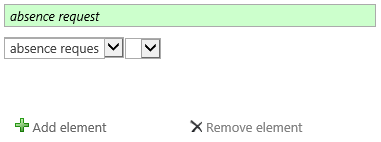
Open the second drop-down menu and select underline _.
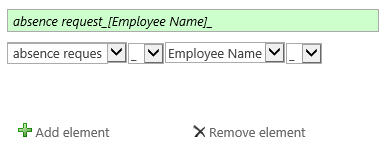
Click Add element to add another list field and select [Employee Name] from the drop-down menu.

And then select underline _ next to [Employee Name] field
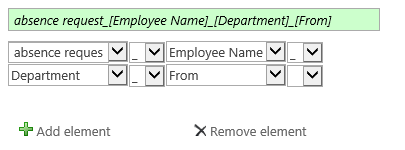
Click Add element to add another list field and select [Department], select underline _ next to [Department].

At last, click Add element to add list field [From].
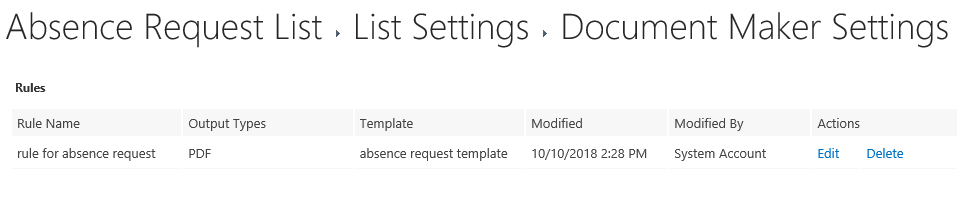
In Date Format section, select (Default SharePoint Format). The date format for the generated document will be same as the SharePoint format.

In Output Types section, select PDF. The document will be generated as PDF format, you can also select other output types.

Keep other settings as default and click OK to save the settings for this rule.
And then, you will find that a rule is created in the Document Maker Settings page.
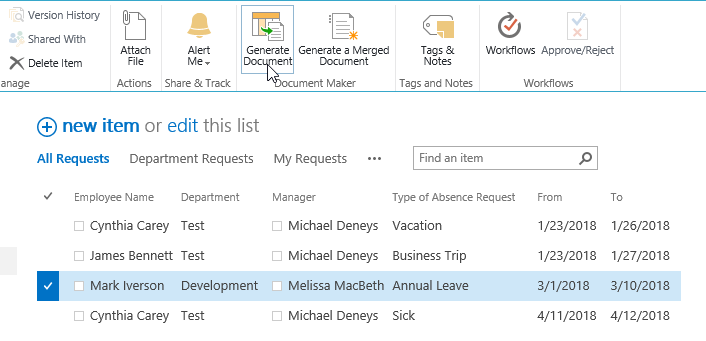
In the Absence Request List, select one item (Mark Iverson), under ITEMS tab and click Generate Document in Document Maker group.
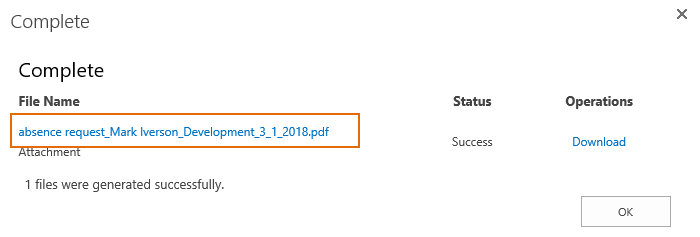
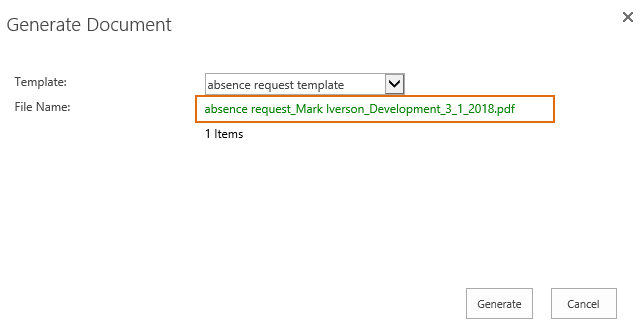
When Generate Document dialog appears, in Template section, select absence request template. In File Name section, you will see that the file name is generated based on the rule as following.
Click Generate button. Wait for a few seconds, and then the document is generated as following.
