- BoostSolutions
-
Products
-
- Microsoft Teams
- HumanLike Alert Reminder
- View All Apps
- Pricing
- Support
- Company
Before using BoostSolutions’ Document Maker to generate documents, you have to prepare a template and designate a rule. A rule is used to automatically name and store the generated documents.
In this article, we will explain how to create a rule in a SharePoint list.
Create a rule in Absence Request List
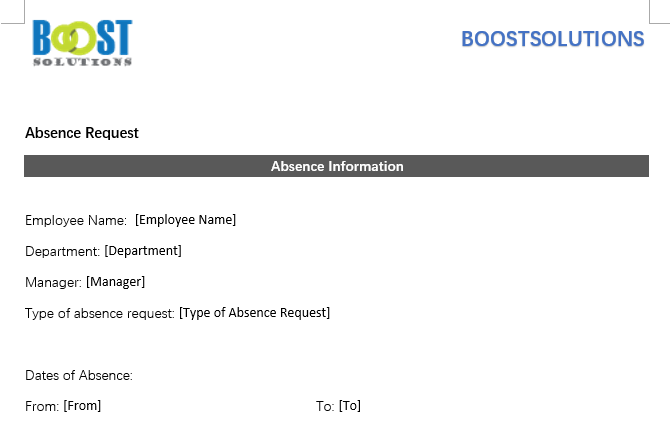
And this is the absence request template in Word format.

Firstly, download the trial version of Document Maker and install it to your SharePoint server.
And then install Document Maker add-on in Word application.
Navigate to the Absence Request List appeared above.
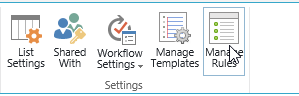
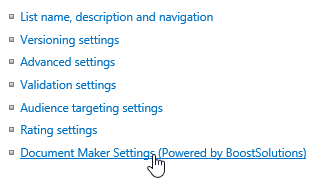
Under LIST tab, click Manage Rules in Settings group.
Or, in the List Settings page, click Document Maker Settings under General section.
In the Document Maker Settings page, upload absence request template in the Document Maker settings page as following.

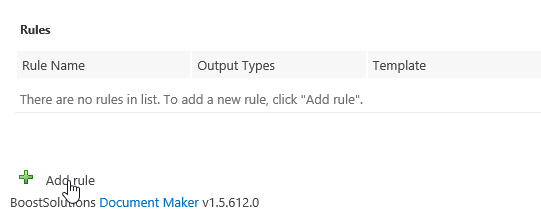
In the Document Maker Settings page and click Rules on the left panel.

And then click Add rule.
In the Add rule page, specify a name this rule, such as rule for absence request.
In Select Template section, select absence request template, which means that the document will be generated using this selected template.

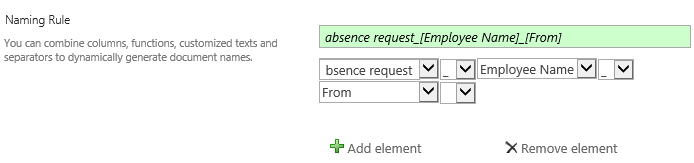
In Naming Rule section, specify the name as following.
In Date Format section, select (Default SharePoint Format). The date format for the generated document will be same as the SharePoint format.

In Output Types section, select PDF. The document will be generated as PDF format, you can also select other output types.

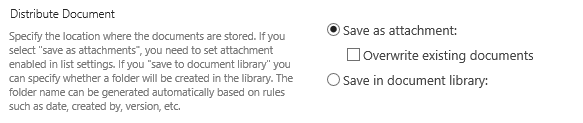
In Distribute Document section, select Save as attachment option, which means that the generated document will be saved as attachment to the corresponding item.
You can also save the generated documents to a SharePoint document library or folders, we will discuss it in another KB.
In Merged Document Generation section, unselect Enable option.
Click OK to save the settings for this rule.
And then, you will find that a rule is created in the Document Maker Settings page.

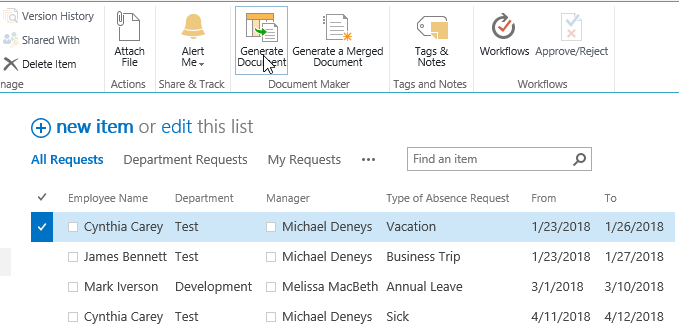
In the Absence Request List, select one item. Under ITEMS tab and click Generate Document in Document Maker group.
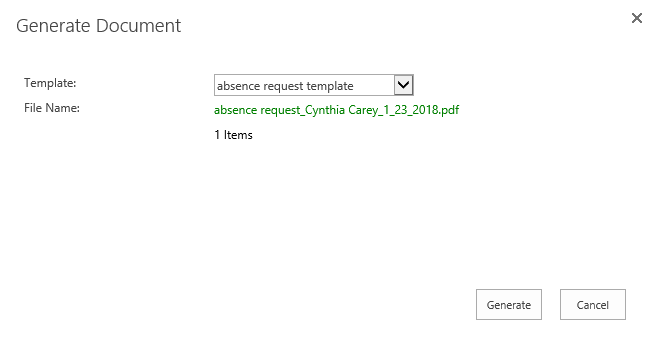
When Generate Document dialog appears, in Template section, select absence request template. In File Name section, you will see that the file name is generated based on the rule as following.
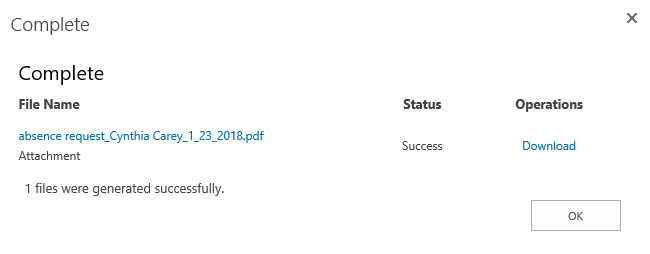
Click Generate button. Wait for a few seconds, and then the documents are generated as PDF format as following.
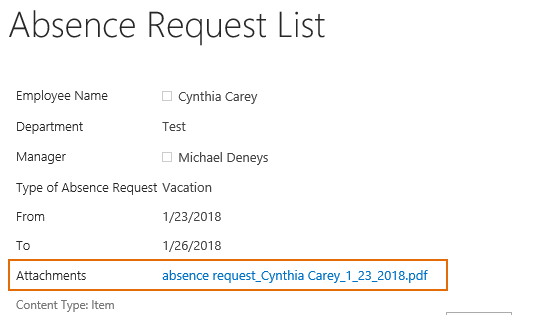
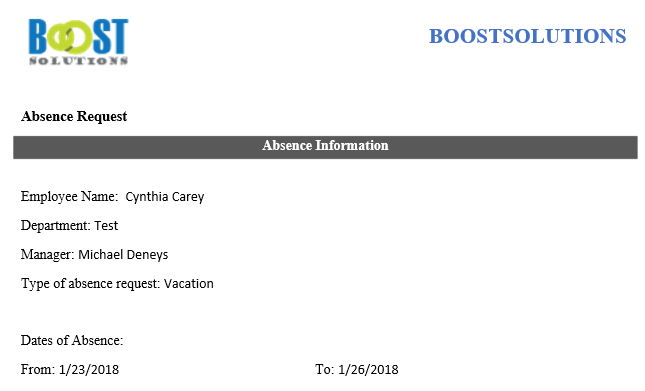
Open the PDF file, you will find that the values of selected item are inserted into the absence request template as following.
In the Absence Request List, check the selected item, the generated document is added as the attachments as following.
This is because we select Save as attachment option in the rule before.