- BoostSolutions
-
Products
-
- Microsoft Teams
- HumanLike Alert Reminder
- View All Apps
- Pricing
- Support
- Company
SharePoint AD Self Service enables administrators to decentralize AD management, allowing authorized users to directly manage AD information. Those users will be able to change AD information such as phone numbers, addresses and etc. In this article we will show you how to add this web part to the SharePoint site.
The Web Part is added to the page and ready to use.
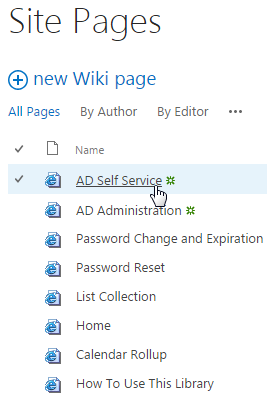
Create a new site page and called it AD Self Service, we will add the AD Self Service Web Part to this page and connected to Active Directory.
Download the trial version of AD Self Service, and install it to your SharePoint server.
Browse to Site page prepared above.
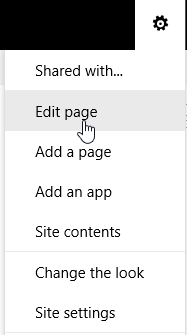
Click Settings and then click Edit Page to modify the page.
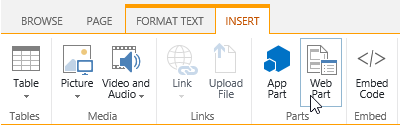
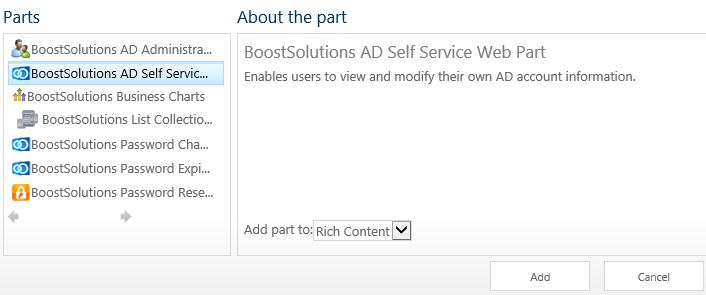
Under INSERT tab and click on Web Part button in the Parts group.
In the Categories box, select BoostSolutions Web Parts, select AD Self Service Web Part, and then click Add.
You will see the web part appear in the page after clicking on Add button.
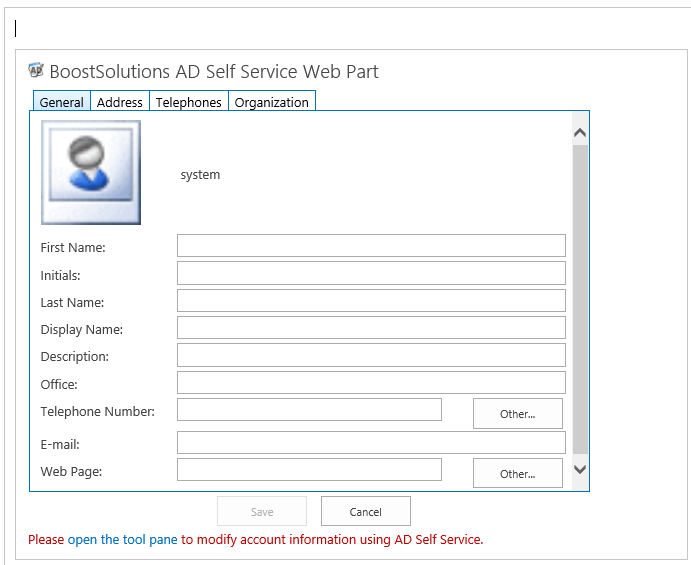
After adding the web part administrator need to connect to Active Directory. Click on open the tool pane line.

After clicking the AD Self Service Settings control panel will appear on the right side of the web part.
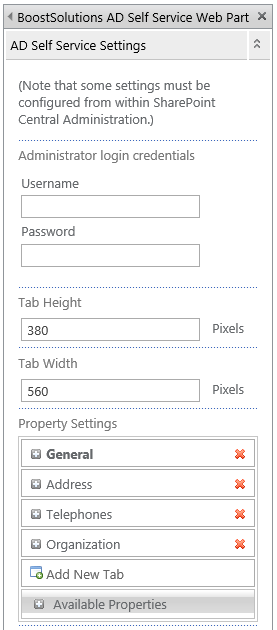
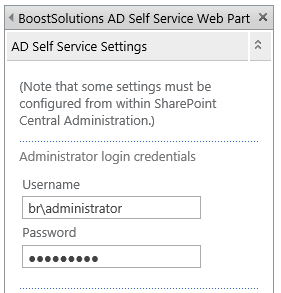
Fill in the Administrator credentials and click OK to save the changes. Please note that the user must be the part of Domain Admins.
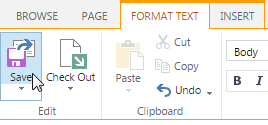
And then click on Save in FORMAT TEXT ribbon, Edit group.
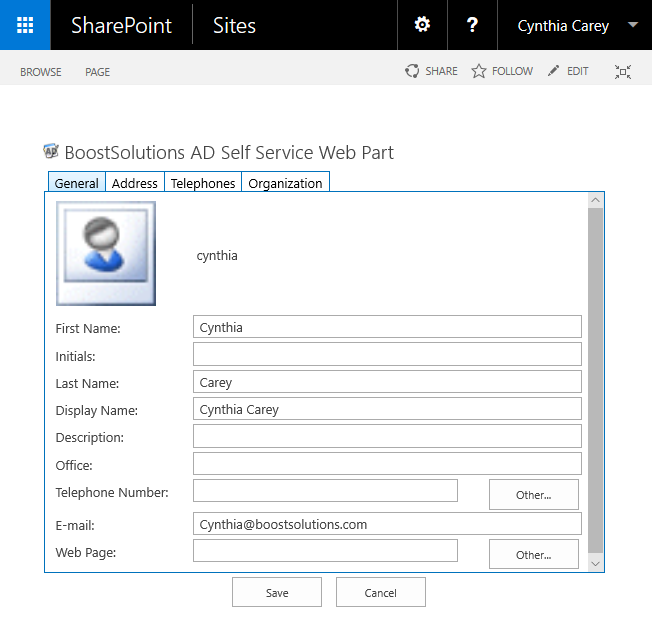
Now let’s log in as Cynthia and navigate to the Site Page where we added the web part. The user can now modify the profile properties.
