- BoostSolutions
-
Products
-
- Microsoft Teams
- HumanLike Alert Reminder
- View All Apps
- Pricing
- Support
- Company
SharePoint AD Self Service enables administrators to decentralize AD management, allowing users to directly manage AD information. Those users will be able to edit AD properties such as phone numbers, addresses, thumbnail photo and etc. in this article we will demonstrate to you how to upload or change the user avatar on the Web Part.
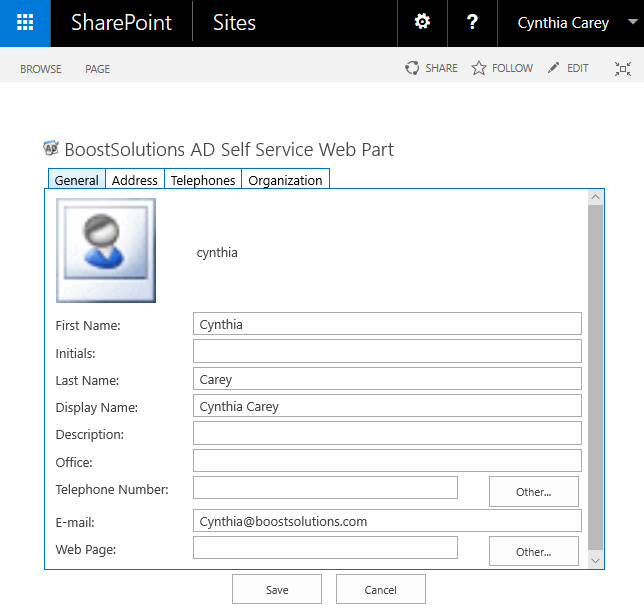
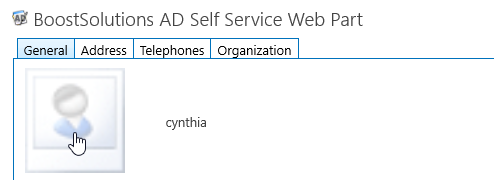
User Cynthia will be able to change her own thumbnail by clicking picture on Web Part.
Create a new site page and called it AD Self Service, then add the AD Self Service Web Part to this page and connected to Active Directory. You can refer to another article to see how to do it.
Download the trial version of AD Self Service, and install it to your SharePoint server.
Log in as the user Cynthia Carey and and navigate to Site page prepared above.
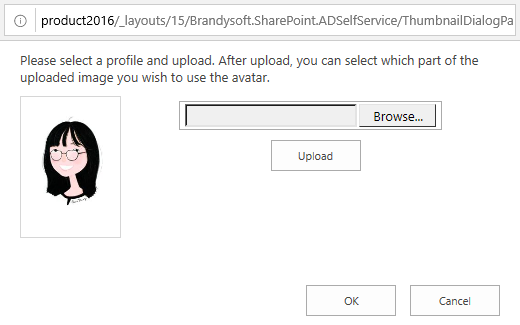
On the web part, click the photo.
Then the Set Profile Picture window will appear after clicking.
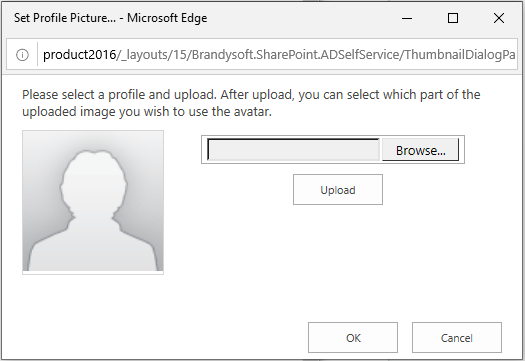
Click on Browse... to choose the photo for avatar. Note that the supported picture formats are JPG, BMP, PNG and GIF.
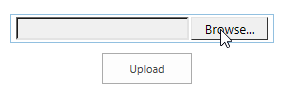
After choosing the file you will be redirected back to the window. Click Upload to upload the photo to avatar.
After the short loading process you will see the result.
You can choose which part of the photo to use. To do it, move the mouse to the photo. Press the mouse and drag it to draw a shape. The area within the shape will be the chosen part of the photo for avatar.
You can choose to maximize or minimize its size. If you don’t want to crop the photo then press ESC.
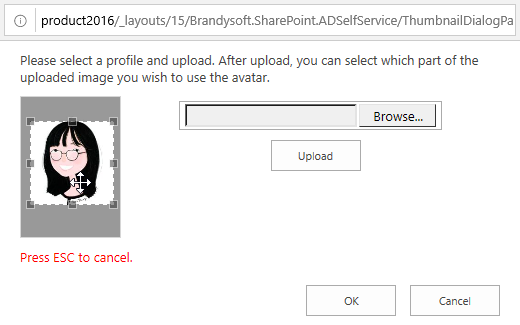
After specify the size, click OK. And then you will see the avatar on the Web Part.
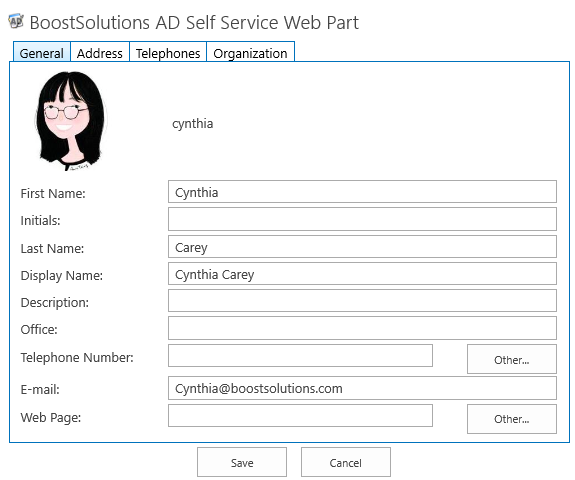
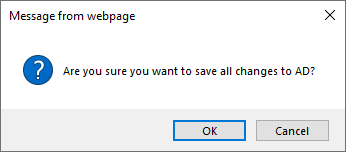
And then click Save button under the Web Part, then click OK for the pop up window question.
Now the thumbnail has been changed back to Active Directory.

