
- BoostSolutions
-
Products
-
- Microsoft Teams
- HumanLike Alert Reminder
- View All Apps
- Pricing
- Support
- Company
With Bulk Properties Editor you can bulk edit properties, check in, approve/reject documents and list items in one go. In this article we will guide you to walk through the various options in Bulk Properties Editor setting’s page. You will be able to configure it based on your needs after understanding the options in the setting’s page and make it work perfect for you. There are 2 ways to configure the Bulk Properties Editor settings. Today, we are going to show you how to configure the Bulk Properties Editor settings for the entire site. We will demonstrate how to configure the settings for only specific lists/libraries in the other article.
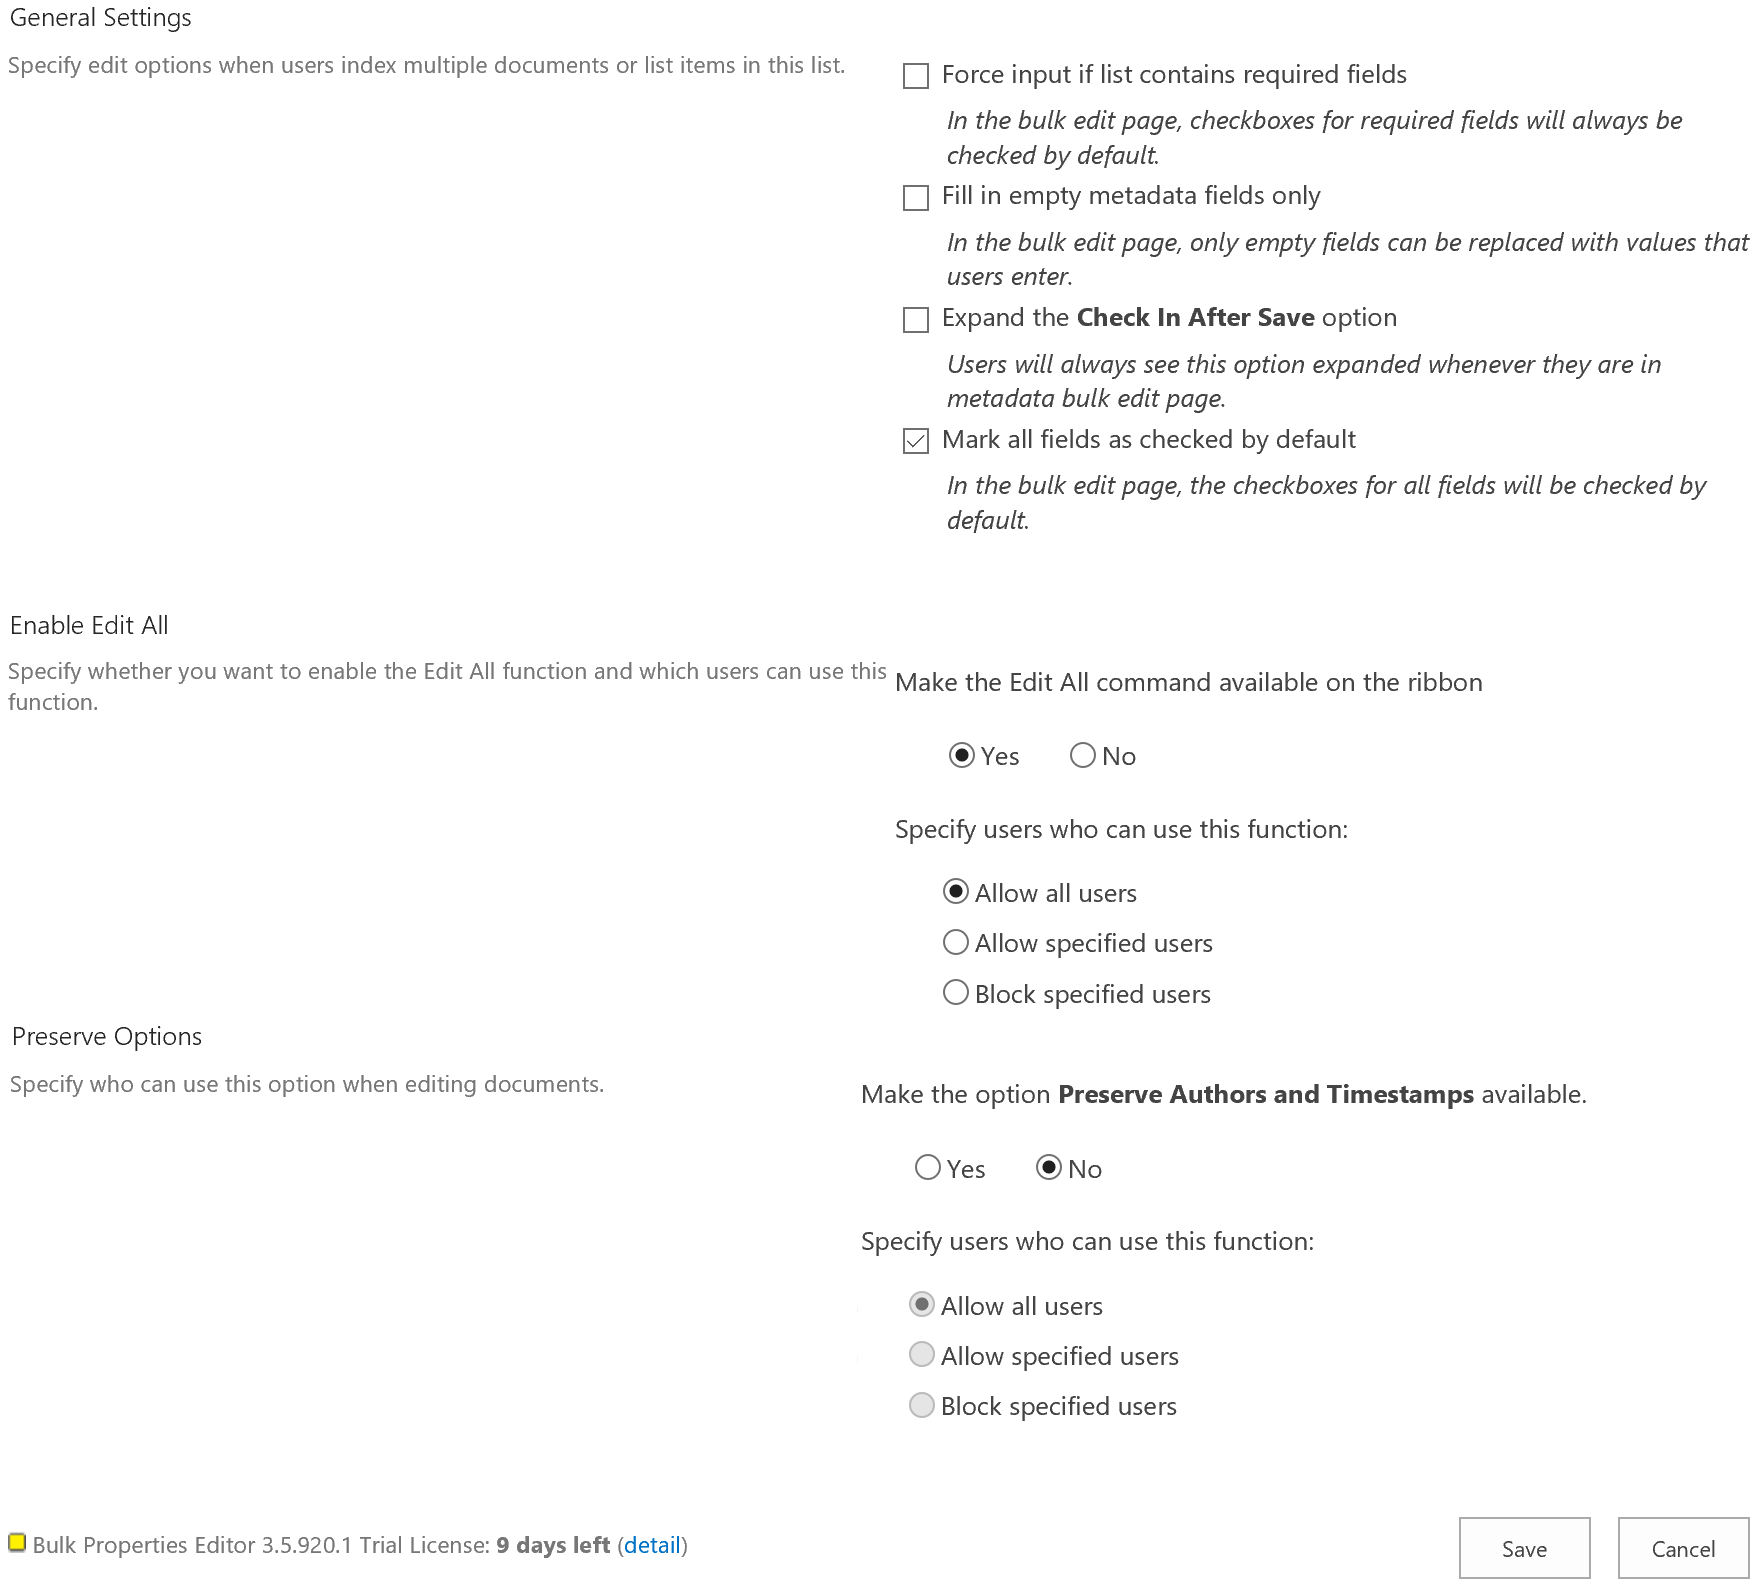
The Bulk Properties Editor Settings page under Site Settings
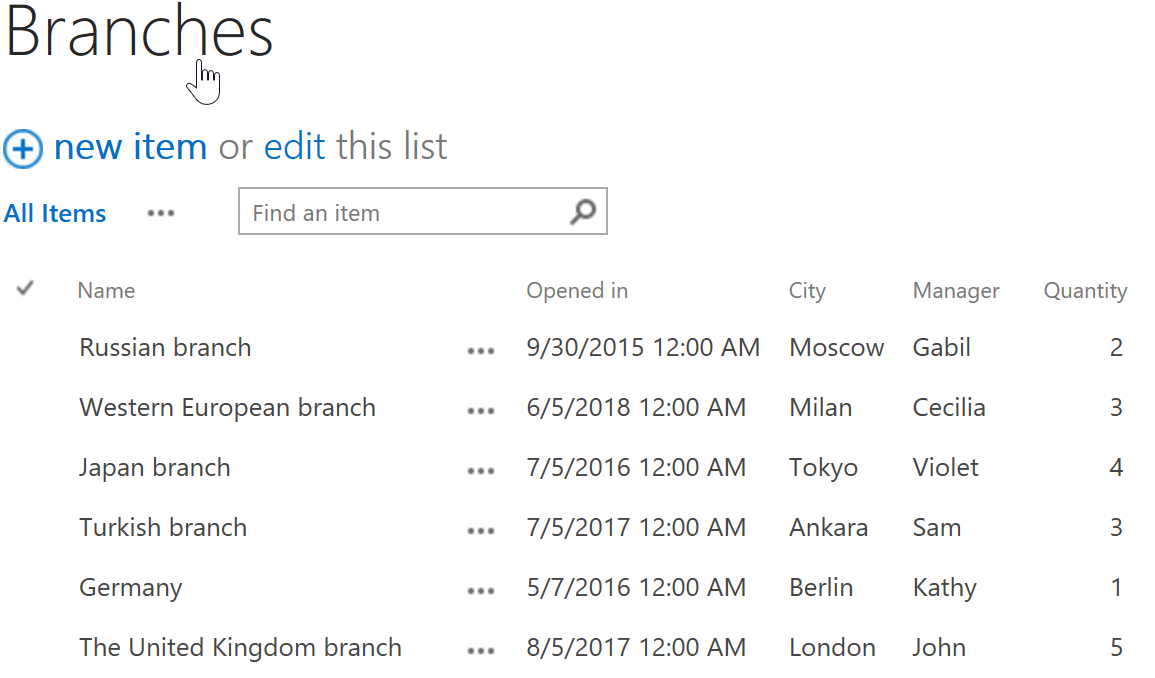
Create a list from the custom list template on a SharePoint site. Here, we created a list named as Branches in which we stored the name of the branch, the time the branch opened in, the city in which the branch is located, the manager who is in charge of the branch and the quantity of the branch. The manager column is a required value column. You can create the list based on your needs.
Download the trial version of Bulk Properties Editor, and install it to your SharePoint server.
Navigate to the site in which the Branches list is located.
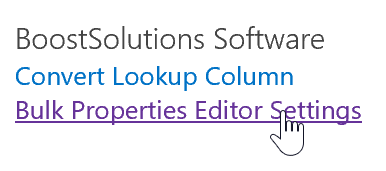
Go to Site Settings page, then click Bulk Properties Editor Settings under BoostSolutions Software in the bottom right corner.
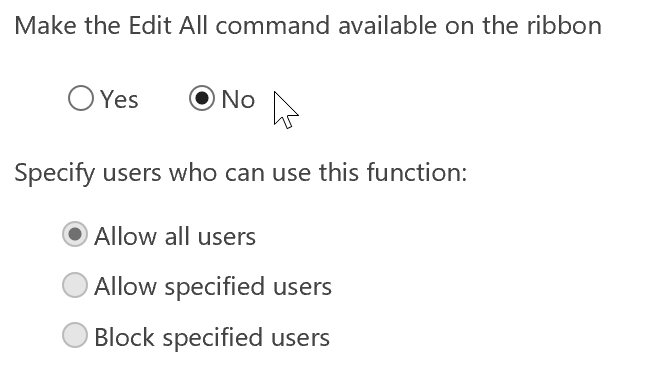
In Enable Edit All section, you can specify whether you want to enable the Edit All function and which users can use this function.
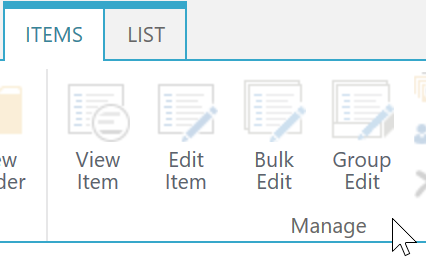
Here, let’s first select Yes to Make the Edit All command available on the ribbon, then in Specify users who can use this function section, you can select Allow all users to enable this function to all users in the entire site. Or you can Allow specified users or Block specified users to use this function by entering user/users or SharePoint Group or AD group. Or you can use People Picker or Browse to Select People and Groups. After making your configuration, click Save to save your change. Then users/groups allowed to use this function will see the Edit All command on the ITEMS/FILES ribbon. The blocked ones or the ones are not included in the Allow specified users will not see the Edit All command on the ribbon.

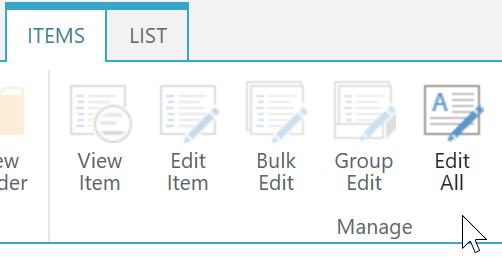

If we select No for Make the Edit All command available on the ribbon. Then all users/groups will not see the Edit All command on the ITEMS/FILES ribbon in the entire site. It will be invisible and no available to anyone.

Note:
In this article, we talked about how to configure Bulk Properties Editor settings through Site Settings which means that all the configuration we did above will be applied to all lists and libraries in the current site.
How to manage Bulk Properties Editor settings for a site - Part 1?
How to manage Bulk Properties Editor settings for a site - Part 2?
How to manage Bulk Properties Editor settings for a site - Part 3?
How to manage Bulk Properties Editor settings for a site - Part 5?
How to manage Bulk Properties Editor settings for a site - Part 6?
